Calling all dill pickle lovers! Canning your own crispy dill pickles is easy, rewarding, and takes full advantage of summers cucumber growing season.
This post may contain affiliate links at no additional cost to you. By making your purchases through the links on this website, IMSL may make a small percentage at no direct cost to you. IMSL only promotes products we use & truly believe in. Please refer to my Privacy & Disclosures for further information. IMSL thanks you for your support!
Ask most pickle lovers & they will tell you dill pickles are a favorite. We are no exception. During the height of cucumber onslaught (you know what we mean if your grow your own), you can betchya’ bottom dollar our kitchen is pickling.
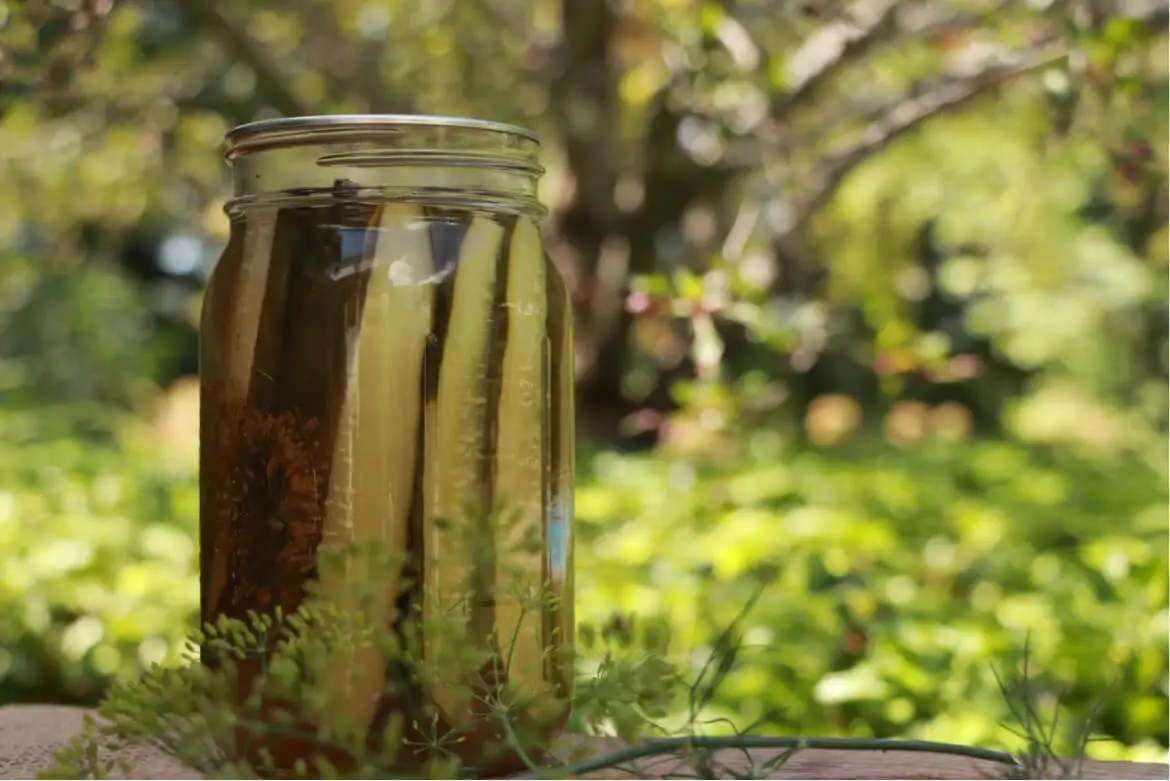
Homemade dill pickles just cannot be beat. Crunchy with just the right amount of sour, dill pickles are as versatile to eat as they are to make.
BEST PICKLING CUCUMBERS
If your goal is to create a crunchy dill pickle, choosing the right quality & variety of cucumber is first and foremost. Our top tip? Choosing the best quality (for us, that means organically grown & harvested) produce is of the utmost importance. After all, your end product will only reflect the quality of ingredients you use.
For any canning & preserving endeavor, picking the freshest produce, free of blemishes or bruises is key to producing a wonderful end product. For dill pickles, we recommend choosing fresh, smallish sized cucumbers for obtaining a crunchy end result. The more seeds or larger the cucumber, the softer your dill pickles will be.
Save those overgrown, over ripe cucumbers for other pickling endeavors such as our “Bread And Butter Pickle” recipe.
Our favorite cucumbers to use for dill pickles? Depends on how you will be cutting them or not 🙂
DILL PICKLES – CUTTING OPTIONS
When it comes to making your own pickles, you have options for the shapes & sizes, or in otherwords, how you will be cutting the cucumber…..or not. Your favorite “shape” will determine which variety of cucumber would be best to use.
- DILL SPEARS – When creating dill pickle spears, choose long 3-5 inch in length cucumbers, those that tend to be on the “skinnier” side of things. Not fat. Fat cucumbers equal more seeds, equals softer pickles. We use both “Marketmore” and “Shuyo Long” varieties when making spears. Although not technically “picklling cucumbers” we enjoy the flavor & texture of these, especially when picked young. If you do not have access to those, choose a pickling style cucumber with the same type of dimensions such as “Kirby”
- WHOLE DILL PICKLES – “Little Leaf” is the variety we choose when canning dill pickles in their whole state. When picked small, this variety is perfect for the whole dill pickle experience. Any smallish 2-3 inch pickling style cucumber will work as well
- SLICED DILL PICKLES – When choosing to slice your dill pickles, choose a cucumber variety that is small, tightly formed with little seed growth such as “Kirby” or “Little Leaf”. Cucumbers picked when small in size.
TIPS FOR CRUNCHY CANNED DILL PICKLES
By following these tips for making homemade dill pickles you can be sure they will remain crispy, fresh, and flavorful.
- CHOOSING THE RIGHT CUCUMBER – As we stated above, not all cucumber varieties will produce the same dill pickle. By choosing wisely which variety you use can make all the difference between a crunchy dill pickle and a soft one.
- FRESH IS BEST – Choosing the freshest possible cucumber, no matter the variety, will lead to a crunchy end result. Extra points if you can pick yours fresh from your garden 🙂 No matter where you source yours, make sure they are as fresh as possible, not soft or spongy.
- SIZE MATTERS – This is one time that, yes, size does matter when it comes to crunchy dills. Choose the smallest size you can for the style dill you are creating
- ACCURATE PROCESSING TIME – Keeping your jars in the hot water bath, exceeding the recommended processing time of 15 minutes for quart jars, will result is a soft pickle
- PACK TIGHTLY – Packing the cucumbers tightly will help create a crunchy pickle & reduce the amount of brine needed
- COLD PACKING METHOD – By using the packing method as shown below, packing your prepared cucumbers into the jars and then pouring the hot brine over them prior to processing in the water bath helps to retain the cucumbers firmness
- PICKLING LIME – Pickling lime is an old fashioned process used to create crisp pickles using calcium hydroxide . It is another whole process, but one you may want to investigate at some point
- XTRA CRUNCH – Fast forward a few years and we now have available a product using calcium chloride that claims to do the same as the pickling lime but without the added process. The jury is out on these, both the lime and the crunch products, as we have not used either product ourselves
We have also read somewhere that trimming the ends of the cucumbers will reduce the risk of “softening”. Not sure if that is the case or not. We have seen no difference between trimming the ends or not trimming when making spears or sliced dills.
DILL PICKLE CANNING RECIPE – OPTIONAL INGREDIENTS
Using the base dill pickle recipe in the Ball Blue Book For Canning recipe for food safety, as long as you keep to the recommended cucumber amounts for the vinegar, sugar, salt, and water, adding or changing the other flavors are up to you!
A few optional additions or flavors are…
- Garlic. Adding a few cloves of garlic creates a garlicky twist to this dill pickle recipe
- Sliced Onion
- Crushed red pepper flakes or a whole hot pepper to spice it up
- Horseradish to add even more intense flavor
- Bay leaves
- Turmeric
- Curry
Of course, the one ingredient you don’t want to change….dill. Creating a deep dill flavor in your pickles comes from the dill seed. After all, these are dill pickles.
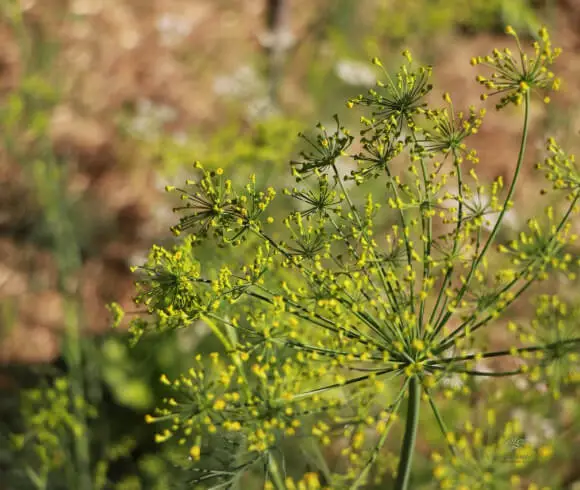
Experimenting with flavors that suit you and your family is easy to do with this base dill pickle recipe. Be sure to let us know what flavors you’ve tried & love!
HOW TO MAKE DILL PICKLES
Making your own crisp dill pickles is an easy process once you have gathered all your fresh ingredients. For our base dill recipe we’ve used fresh dill, sugar, apple cider vinegar, pickling spices, and of course canning salt.
With dill being the star of the recipe, obviously you will want to source fresh dill heads if possible. Farmers markets, CSA’s, a neighbor’s garden or your own garden are great sources. I aim for one large dill head per quart if possible. Should you not be able to source fresh dill heads, dill seed will do just fine.
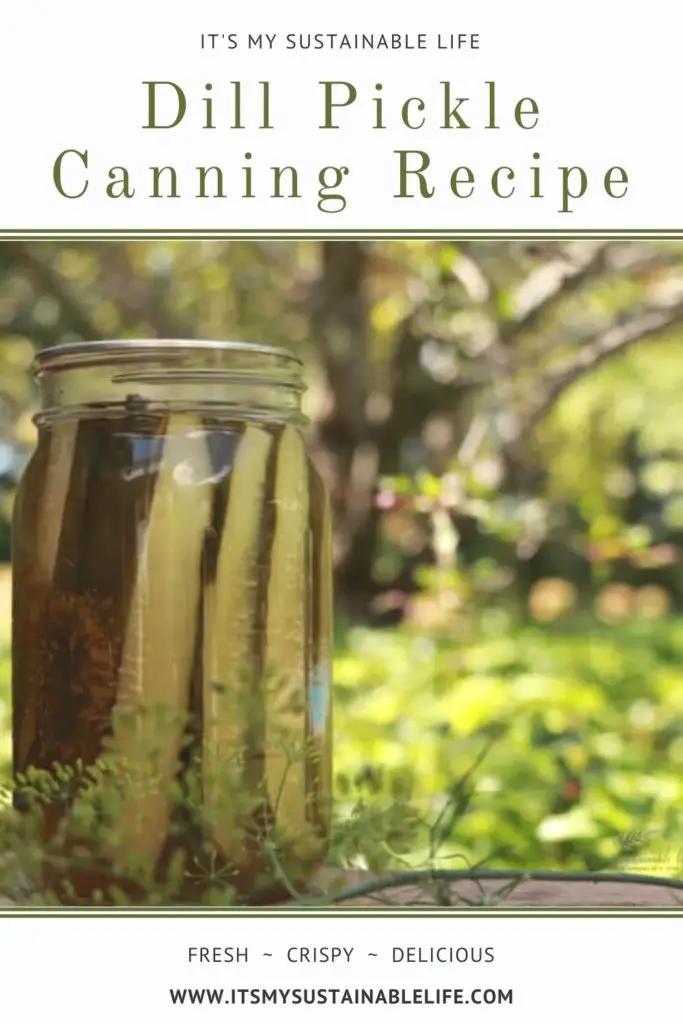
If you find yourself with leftover dill heads, we highly recommend making either traditional dilly beans or our “Lacto Fermented Dilly Beans”. They are a wonderful spicy treat!
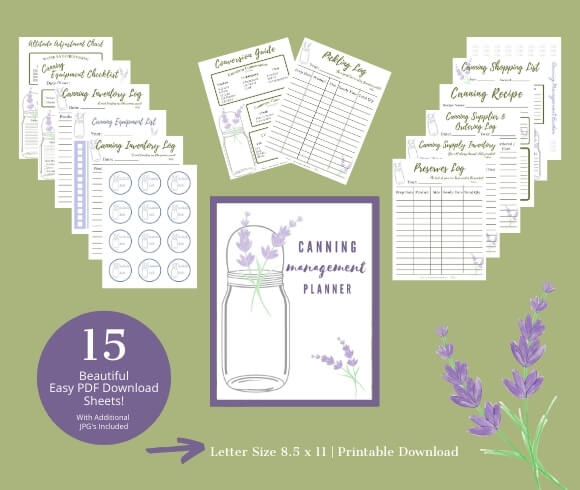
To make these dill pickles prepare your fresh, washed & dried cucumbers by slicing lengthwise for spears, slicing, or leaving whole. Pack your jars (we’ve used quart sized & are making spears) with 1 dill head or roughly 1/2 to 3/4 Tbl dill seed, and tightly pack your cucumbers, leaving at least 1 inch of headspace at the top of your jar. We find it easiest to lay the jar on it’s side for easier packing. Add any of the optional ingredients we mentioned above. Ladle the prepared hot brine over the cucumbers leaving at least 1/4 inch headspace. Cover with 2 part lids, & water bath can or steam can for 15 minutes. Allow to cool, check that the jars are well sealed, label with product name and date (we use a sharpie and write the information on the top of the lid), or utilize our Canning Management Planner pages available now in our Etsy Shop, remove the bands, and store in a cool dark area.
For a step-by-step tutorial on canning pickles, refer to our Bread And Butter Canning Pickle Recipe or skip to the recipe found below.
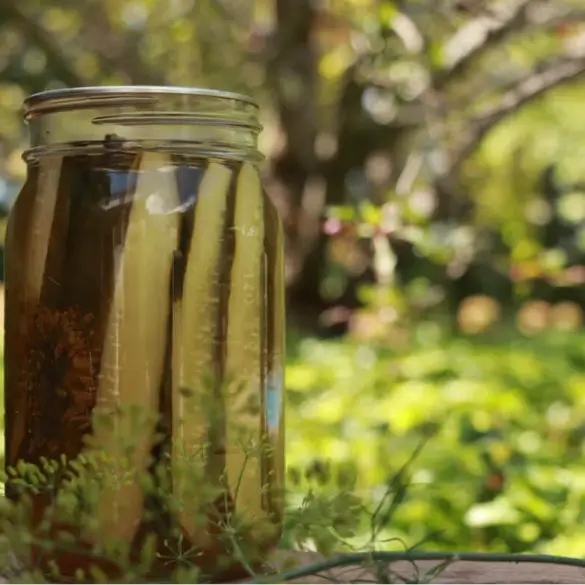
Ingredients
- 8# Cucumbers - Cut to your desired shape
- 1 Qt Vinegar
- 3/4 C Sugar
- 1/2 C Canning Salt
- 1 Qt Water
- 3 Tbl Pickling Spices
- Fresh Dill - 1 head per jar
- *Optional Ingredients: your choice of garlic clove, crushed red pepper flakes, hot pepper, horseradish, bay leaf, turmeric, curry, onion
Instructions
This recipe was taken from the Ball Blue Book of Canning. This recipe is enough to fill roughly 7 pints or 3-4 Qts
PREPARE THE CUCUMBERS
- Wash the cucumbers
- Slice into the shape of your choice
PREPARE THE CANNING EQUIPMENT
- Wash the jars, lids, and bands in warm soapy water, rinse, and dry
- Place your water bath canner with rack on the stove, add the jars, fill with water to 1-2 inches above the jar line
- Bring water bath canner to a boil, boil jars for 10 minutes to sterilize
- Reduce heat in water bath canner to med to keep hot
- In small sauce pan add the lids (top side up for easier removal), cover with water, bring to simmer
- Reduce heat in sauce pan to low to keep warm
- Beside the stove place a towel laid flat, rims, jar lifter, bubble remover, funnel, and magnetic wand
PREPARE THE DILL PICKLE BRINE
- In a large stockpot add the sugar, salt, vinegar, and water
- Tie the spices in cheesecloth or a spice bag and add to the vinegar mixture
- Bring to a boil & reduce to simmer. Simmer for 15 minutes.
CANNING PROCEDURE FOR BREAD AND BUTTER PICKLES
- Using the jar lifter, remove the hot jars from the water bath canner and place on the towel
- Pack the jars tightly with 1 head of dill, cucumbers and any optional ingredients.
- Cover with hot brine, & leave at least 1/4 to 1/2 inch headspace
- Using your bubble remover, gently move the tool around the outer edge of the pickles to help remove any trapped air bubbles
- Using the magnetic wand, place one lid on top of a the filled, clean & dried rimmed jar (using a clean towel if needed)
- Screw on the rim, only finger tight
- Bring the water bath canner back to a full boil
- Using the jar lifter, place the filled jars back into the water bath canner
- Process (boil) the filled pint jars for 15 minutes (qts)
- Remove the processed jars from the water bath canner using the jar lifter and place onto a thick towel, cooling rack, or cutting board to cool
- Check lids once the jars are cooled completely for seal by gently rubbing your finger across the top. DO NOT PRESS LID DOWN! This can create a "false" seal. The seal should feel firm with no give when you run your fingertip across. If there is any give, the jar did not seal well. Remove screw band if sealed
- Place any jars not sealed into the refrigerator and use first
- Label your jars with product name & date. Store in cool dark place
Notes
Best if product marinates for at least 2-4 weeks prior to opening
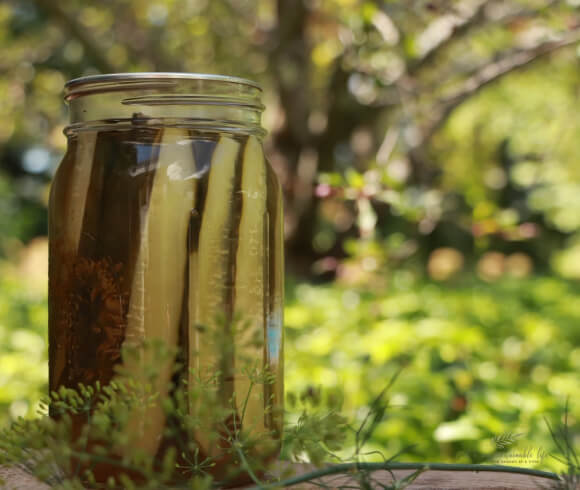
Although these pickles are ready to eat, allowing the flavors to develop over time is something we highly recommend. We wait anywhere from 2-4 weeks before cracking open a jar to enjoy their full flavor. Can we just say it now? YUM!!
DILL PICKLE CANNING RECIPE TIPS
Store any leftover brine in the refrigerator, add your special ingredients such as garlic or other seasonings, cut up fresh cucumber, and voila! Refrigerator pickles that are to die for!
Adding additional flavorings or spices will not effect the recipes safety. Experiment to find your perfect blend!
Stick to the base recipe and utilize only canning salt. Canning salt, aka pickling salt, is salt in its purest form. This salt does not contain any additives (iodine or anti-caking agents) which can cloud your end product, or vary the taste & texture of the pickle.
These jars of summer’s flavors make wonderful gifts! Make them even more special by adding a unique label, & tie the top with twine or a favorite bit of cloth.
SAFE CANNING RESOURCES
When first starting out, canning can be overwhelming. Reviewing safe canning procedures is always a good idea for those just beginning or even those returning to the canning process after a hiatus. If you haven’t already downloaded our “Canning For Beginners” we highly recommend you do so. It’s a simple, step-by-step guide to the canning process, and did we mention it’s FREE to our subscribers?
USDA National Center For Home Food Preservation
The All New Blue Ball Book Of Canning
Storing Home Canned Foods NCFHFP
Interested in more canning recipes and tips? These recipes & canning recommendations may be of interest to you!
Preparing Your Kitchen For Canning
We hope you enjoy this dill pickle for canning recipe as much as we do. Let us know your thoughts by joining the conversation below. Happy pickling!
Love, Light, & Laughter ~


34 comments
A Bay Leaf in each pickle jar is something we just started doing last year. The difference it makes to the flavor is hard to put your finger on, but it’s definitely there. More rounded, maybe? I’m not sure how to describe it. Thanks for sharing this with us at the Homestead Blog Hop!
The addition of a bay leaf would surely deepen the flavors! Thank you for sharing & reading!
I love how thorough your articles are! We didn’t grow any cucumbers this year… but maybe next year we will give it a try! My kids love pickles!
What a great addition to our linky party! We are so happy to have you!
Always a favorite in our family! I love the idea of a horseradish variation!
Have always wanted to learn about canning, so much good info here! Thank you 🙂
We just attempted making pickles from the farm we live next to. Hope they come out crunchy!
Your posts are always so thorough and helpful! Thank you so much for sharing at Embracing Home and Family link up! These look so good by the way!
Guess who showed up at my door with FRESHLY CANNED DILL PICKLES? My amazing mother! How ironic! Dill pickles (extra garlic) are my most favorite!
Lucky you! There may be no better gift than canned food made with love!!
Wow there’s a lot of different spices and flavors you can include with the dill pickles. Thank goodness I have some pickles in my fridge at the moment because this post is totally making me crave one!
This post makes me want pickles so bad! Ha. In all seriousness though, I need to grow cucumbers next year so I can make this happen. Thanks for sharing!
Saving this for future reference.
Yum! I love dill pickles. Thanks for the instructions.
I’m reading this at the wrong time of the day. You are making me hungry! Haha
Wonderful instructions (as usual)! I love dill, and would love to make my own dill pickles!
Hope you can give them a try, Sydney!
What a great recipe! And I happen to have a bunch of cucumbers from my garden right now. Thanks!
Perfect! Hope you enjoy!!
I love dill! It’s one of my favorite herbs. Store bought dill pickles, not so much. I bet your recipe is wonderful though!
Dill pickles are my favorite, these look just as good as your bread & butter pickles!
Great information! I am not a pickle fan but I know someone who is so I’ll pass this along!
Thank so much, Alyssa! Hope they enjoy!!
Yum, I am craving pickles now. This is such a great option for all those cucumbers from the garden!
I love a great dill pickle and would be open to making my own in the future. I’ve noticed that so many store-bought ones use food dyes in their pickles, which I find repulsive. This actually looks pretty easy to do.
It is! I agree, making your own food allows you all the control. Thanks so much for stopping by!
Thank you for sharing. I used to can pickles but haven’t in years. I shared your recipe on Facebook last week.
Thank you, Christina, for the support!
We’ve never made our own pickles before, but we sure do love both dill and bread and butter pickles. Yum!
Great recipe! I love dill pickles and never thought about using horseradish, I’m going to have to try this, maybe even with zucchini pickles! Thank you!
Sounds wonderful! Let me know how they come out!
It sounds like my husband would love these pickles! I’m not a huge fan, but we plant cucumbers in our garden so he can have pickles. 🙂
These sound amazing and I like the optional additives. Hmmm red pepper and garlic maybe? Sound delicious just like your Bread and Butter pickles. Thanks!
That sounds like a wonderful combo Beth! Thanks so much for stopping by & I hope you can give them a try.