Planting garlic is easy to grow. In fact garlic may be the easiest of all crops to grow, requiring very little space and care.
This post may contain affiliate links at no additional cost to you. By making your purchases through the links on this website, IMSL may make a small percentage at no direct cost to you. IMSL only promotes products we use & truly believe in. Please refer to my Privacy & Disclosures for further information. IMSL thanks you for your support!
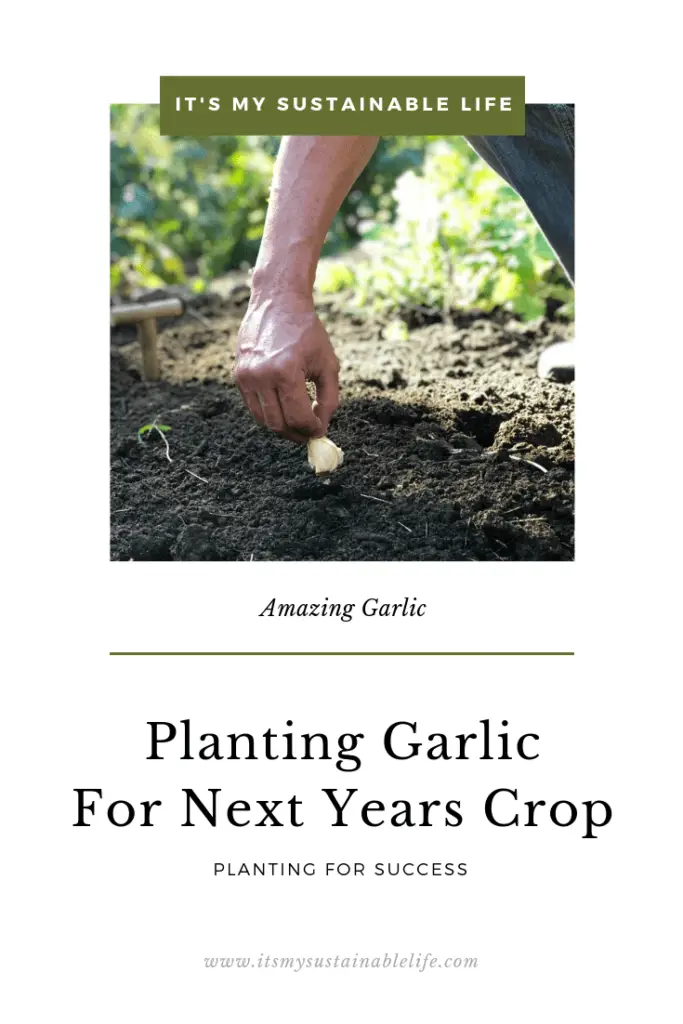
Planting garlic may be one of my favorite crops to grow. Period. Why? Because it’s basically one and done! I plant it in the fall, the best time to plant garlic here in New England is from mid-October to early November to ensure a bountiful crop for next year, and don’t even give it a thought until its time to begin harvesting!
Now that’s my kind of crop!
If you are like me, garlic is my go-to ingredient in almost all of my recipes, both culinary as well as medicinally. Needless to say, I go through a LOT of garlic each year! Knowing where my garlic is sourced and how its been grown certainly gives me peace of mind.
Not to mention it’s FREE food!
BEST TIME TO PLANT GARLIC
Here is New England, in USDA zone 5a, I plant mid-October in order to harvest my crop in late June to early July.
Garlic requires a cold treatment to induce the bulb formation. Therefore, in order to allow for good root development, it is important to plant before a hard freeze. A great list of when to plant garlic in your gardening zone can be found HERE.
If you’re not sure of your gardening zone, plug in your zip code and find yours HERE.
I am fortunate that I am on my up-teenth year of re-planting garlic from my previous harvest. In other words, I save the biggest and the best heads of garlic for re-planting in the fall. Bottom line? Free food!
I do not have to purchase garlic unless I find a variety that I would like to add to my crop. Save money? Sign me up!
SOURCING SEED GARLIC
How & where you source any seed for your garden matters. Garlic is no different. As with all things growing here on the hill, I highly recommend you find sources that are organically grown & trustworthy.
Can you grow store-bought garlic bulbs? Yes. Do I recommend it? No. Here’s why.
- DISEASE – Store-bought bulbs may carry disease(s) that will be transferred to your garden beds
- GROWTH – It’s really a crap shoot as to whether your garlic will actually grow. Many store-bought varieties are treated with growth inhibitors to extend shelf life
- VARIETIES – Store-bought garlic is one and the same. No varieties there! Why limit yourself to just one variety when there are over 600 cultivated sub-varieties of garlic in the world
HOW MUCH GARLIC TO PLANT
For beginner growers, the hardest part of growing garlic is determining how many heads of garlic you will need to not only meet your consumption needs but also in your re-planting requirements for next fall.
I plant 60 cloves of garlic each fall. This ensures me enough garlic (I use pretty much at least 1-2 cloves per day) for eating as well as replanting.
Next decision is which kind of garlic to plant. Understanding the choices will help make that decision that much easier.
SOFTNECK VS HARDNECK GARLIC
Choosing which kind of garlic does matter. Understanding the differences of both the softneck & the hardneck varieties can make all the difference when growing your garlic crop.
When it comes to garlic, these two types of garlic are based on the garlics ability to flower, its hardiness, and its clove formations.
SOFTNECK GARLIC
Live in a warmer climate? Softneck garlic is a good choice for you! Plan on planting during the fall months (September through February) after refrigerating the bulbs for 6-8 weeks to simulate colder winter months.
Looking for mass production? Softneck garlic is a good choice as this variety stores extremely well. Under the proper conditions, softneck garlic can be stored for 9 to 12 months!
Want mass cloves in each bulb? Softneck is the choice for you! This variety of garlic grows a plethora of cloves in each bulb, not just a single row of cloves like the hardneck varieties do.
Looking for garlic scapes? Then this variety of garlic is not for you! Only hardneck varieties will develop scapes.
Want to braid your garlic? You got it! Choose softneck varieties. Since softneck garlic does not develop a flower (garlic scape), its stem remains softer and more pliable, making it a good choice to braid.
Common softneck varieties. There are limited varieties of softneck garlic. Some include “Inchelium Red”, “California Softneck”, “California Early”, “Italian Loiacono”, and “Silver White”.
HARDNECK GARLIC
Looking to harvest garlic scapes? Choose hardneck. The “scape” is actually the flower produced by this variety. The scape will develop small “bulbils” at the top end of the scape. I like to harvest my scapes by simply cutting the flowering stalk prior to these bulbils developing as they can rob the actual bulb growing below of additional growth.
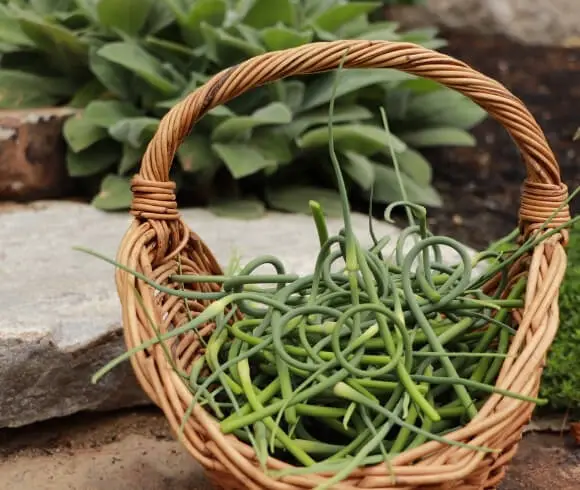
Looking for a winter hardy variety? Hardneck varieties of garlic tend to be a bit more winter hardy.
Looking for unique qualities of garlic? Hardneck varieties of garlic cloves tend to peel easier, they are bigger in size as they grow in a single row around the stalk, & taste amazing.
Looking for a longer storage type of garlic? Choose softneck. Although my hardneck garlic does store fairly well, the bulbs do begin to deteriorate within 6 months of harvest.
Want a plethora of garlic choices? There are literally hundreds of varieties of hardneck garlic. Some of my favorites include ” Chesnok Red”, “Purple Glazer”, Siberian”, & “Spanish Roja”.
Once you determine the varieties of garlic you will be growing & how many heads you will need for next year, in my case 60 heads, you can then begin to getting them prepared to plant.
HOW TO PLANT GARLIC
Garlic enjoys rich & fertile, well-drained soil that boasts a neutral pH. It also prefers lots of light, so choose a location similar to that where you would grow your sun-loving veggies.
Before you can actually plant your garlic, there is a bit of garlicky prep to be done first.
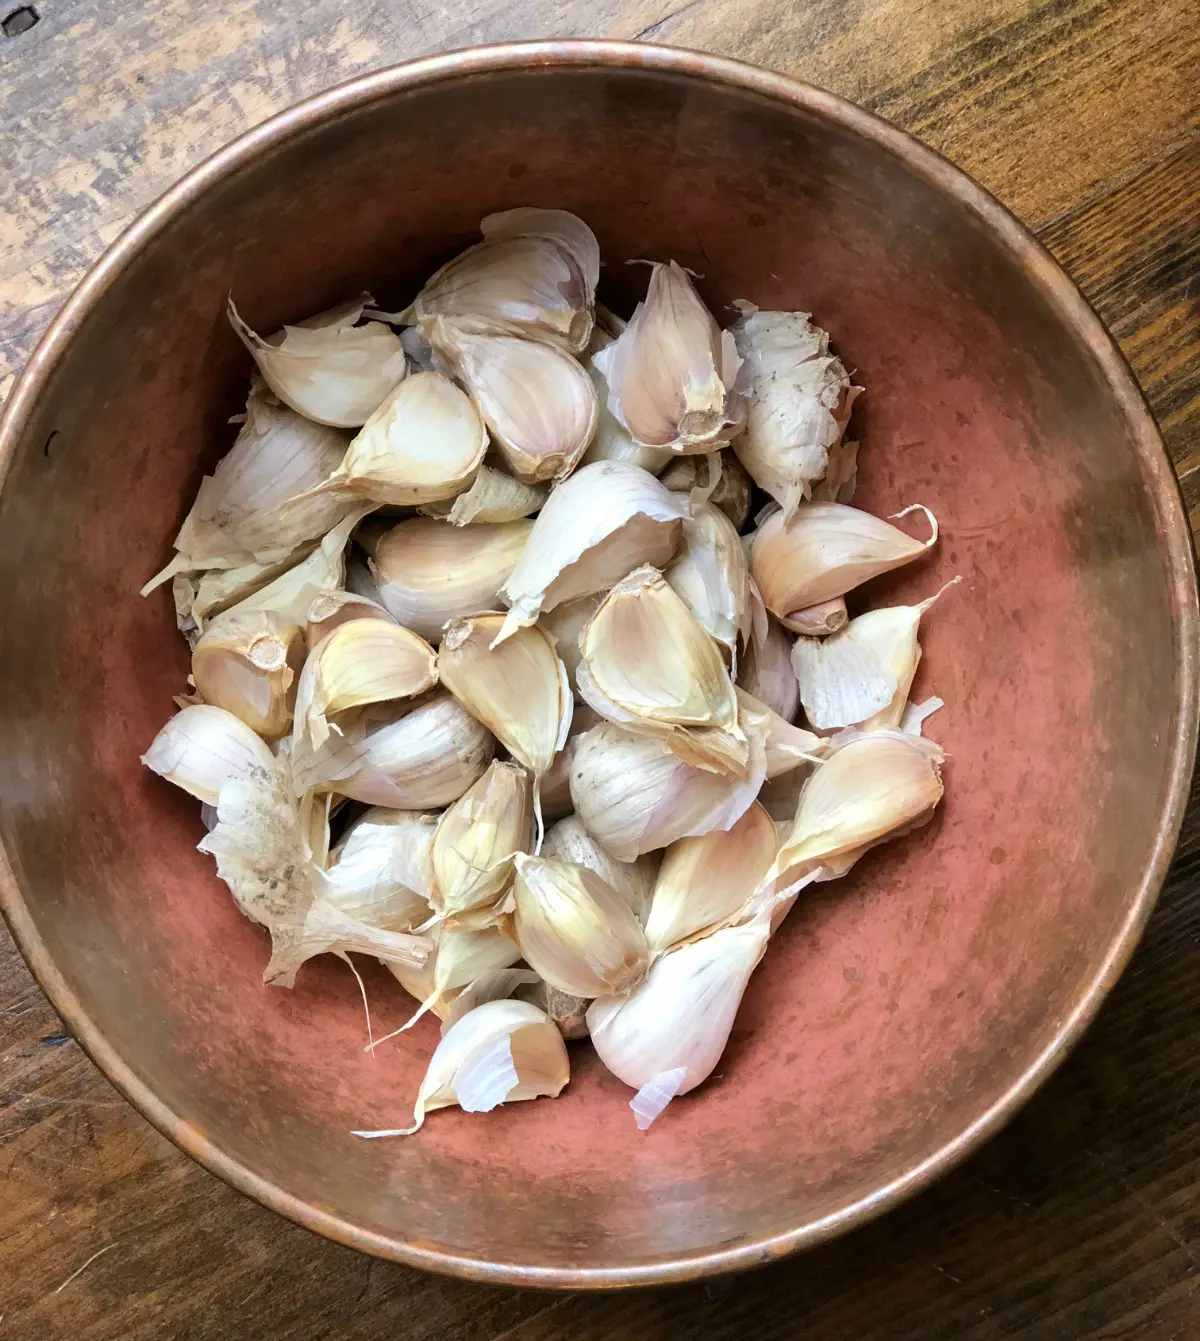
Begin to separate out the number of cloves you need (each clove of garlic will become a head next year). Be careful to leave as much of the protective outer layers as possible.
GARLIC PREPARATION TO SOAK OR NOT TO SOAK
I have planted my fall crop of garlic with both methods, no soaking and soaking. I personally find that by giving the cloves a good soak, my yield and growth has improved dramatically.
Soaking your cloves (overnight prior to planting), not only gives the cloves a big boost of nutrients, but it also inhibits insect carry-over as well as prevents disease.
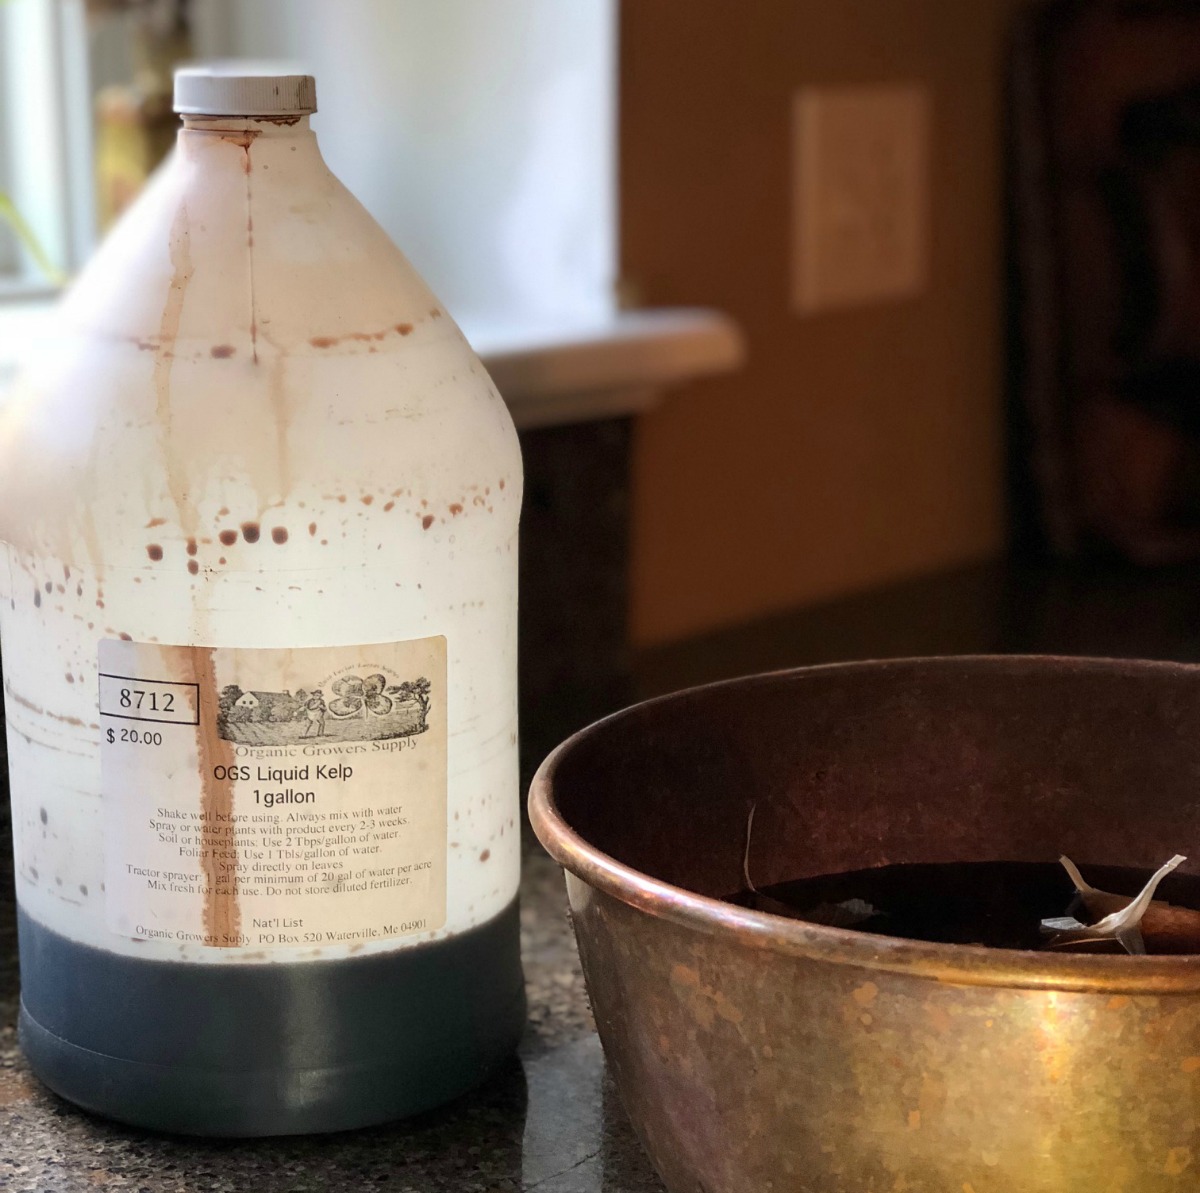
To soak, place cloves in a bowl, cover with water (for me it is approximately 1/2 gallon), add 1 Tablespoon Liquid Kelp (sorry for the very dirty and well-loved gallon pic) and 1/2 Tbl baking soda. Let sit overnight.
If you haven’t discovered this amazing source of garden nutrients, seaweed and all it’s forms, check out my article on “Using Seaweed In The Garden”!
PLANTING GARLIC
For all you visual learners out there, I have included an easy to follow video on just how easy planting garlic is. Take a peek below.
I tend to rotate my crops yearly, therefore my garlic bed moves around my gardening area. Once you pick your spot, prepare the soil.
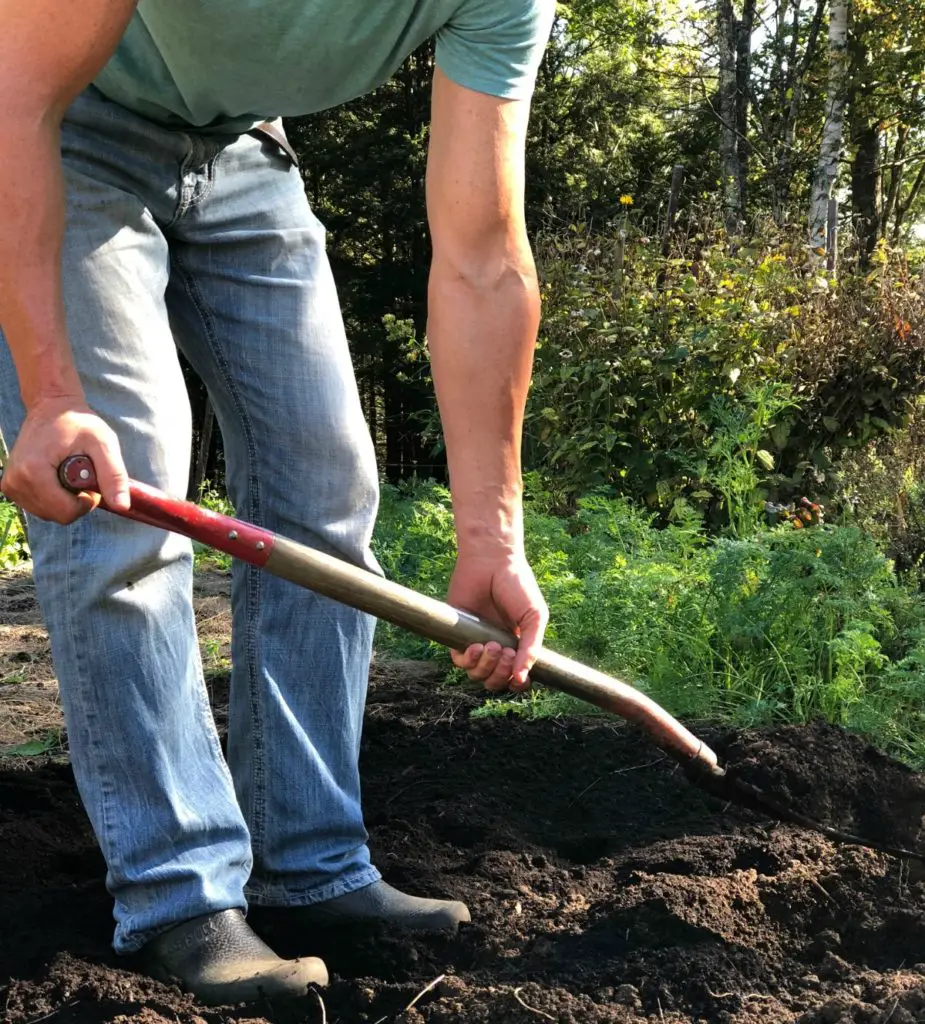
I add a good dose of compost and turn the soil with a garden fork (my partner in life helped me out today!). For sixty cloves, my bed is approximately 4 x 6 or somewhere thereabouts.
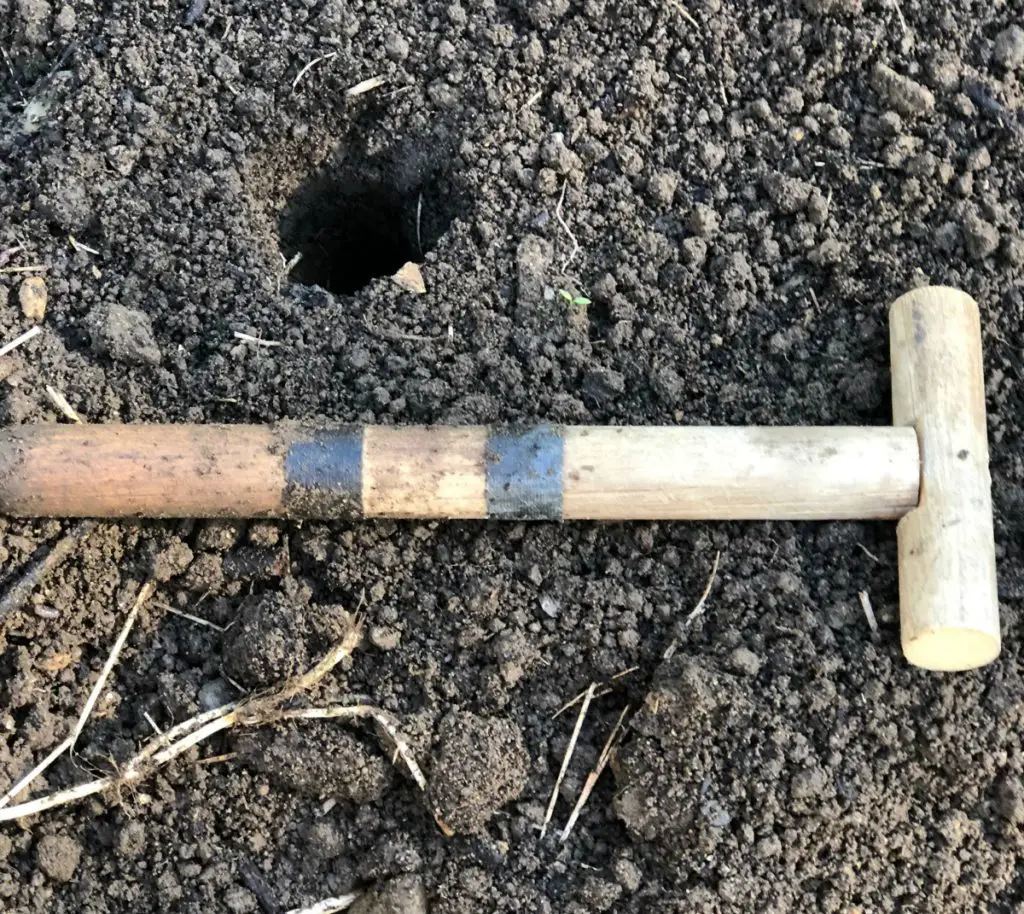
Once your soil and bed are prepared, I like to use a dibble that my man made for me. As you can see in the pic below, we wrapped electrical tape around the end at 2 inches and 4 inches to give me a guide for depth.
If you don’t have a dibble, you can use the end of a rack or broom handle. Garlic should be planted approximately 2-3 inches deep (I prefer the 3 inches) and approximately 6 inches apart all around the planting. This ensures that the bulbs are able to mature fully without crowding.
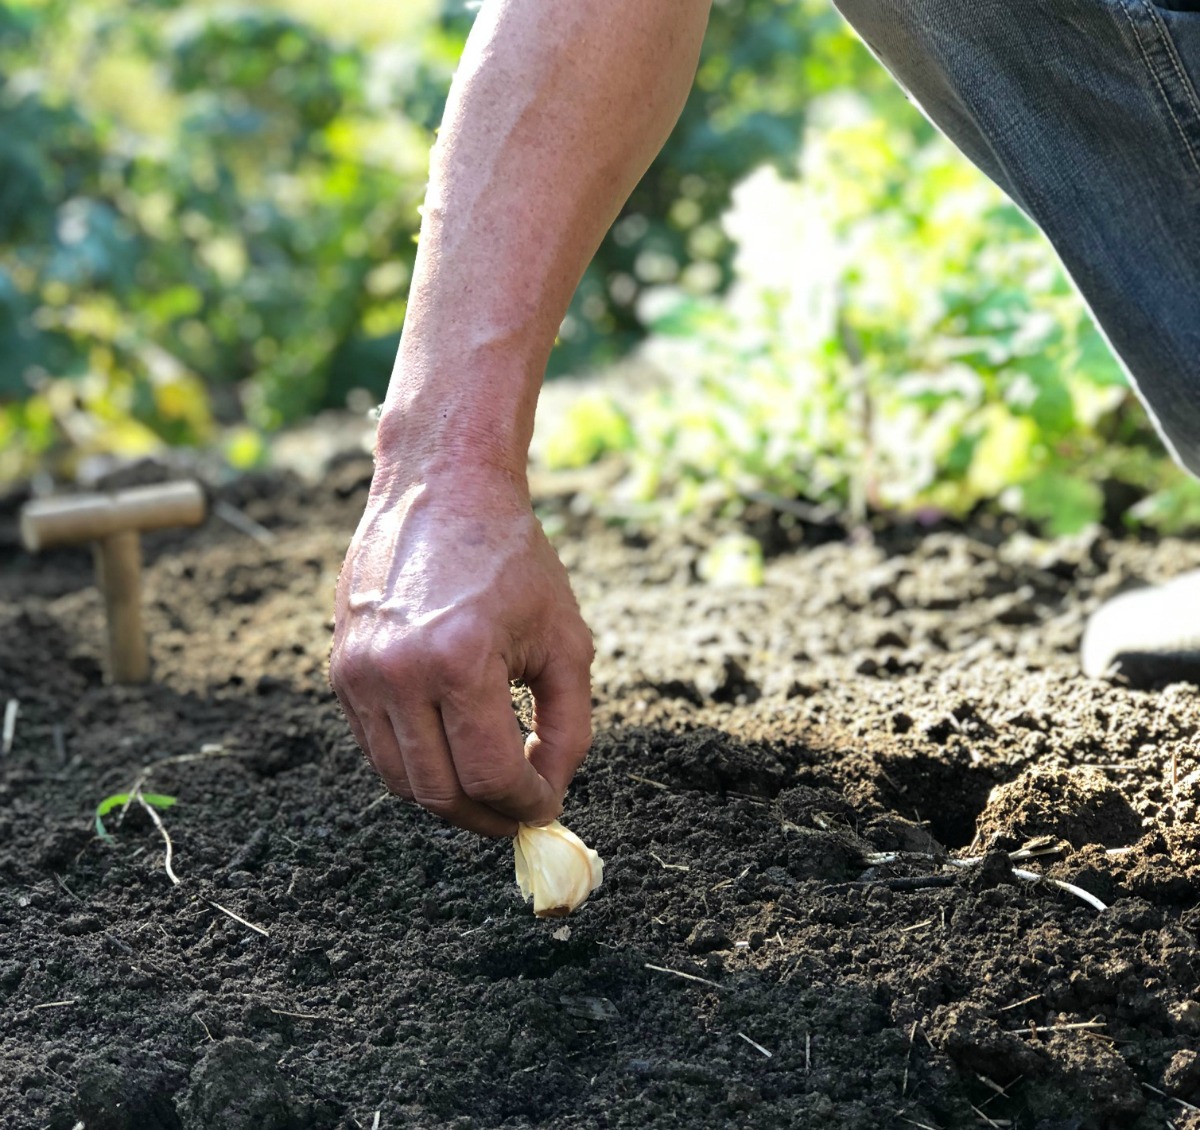
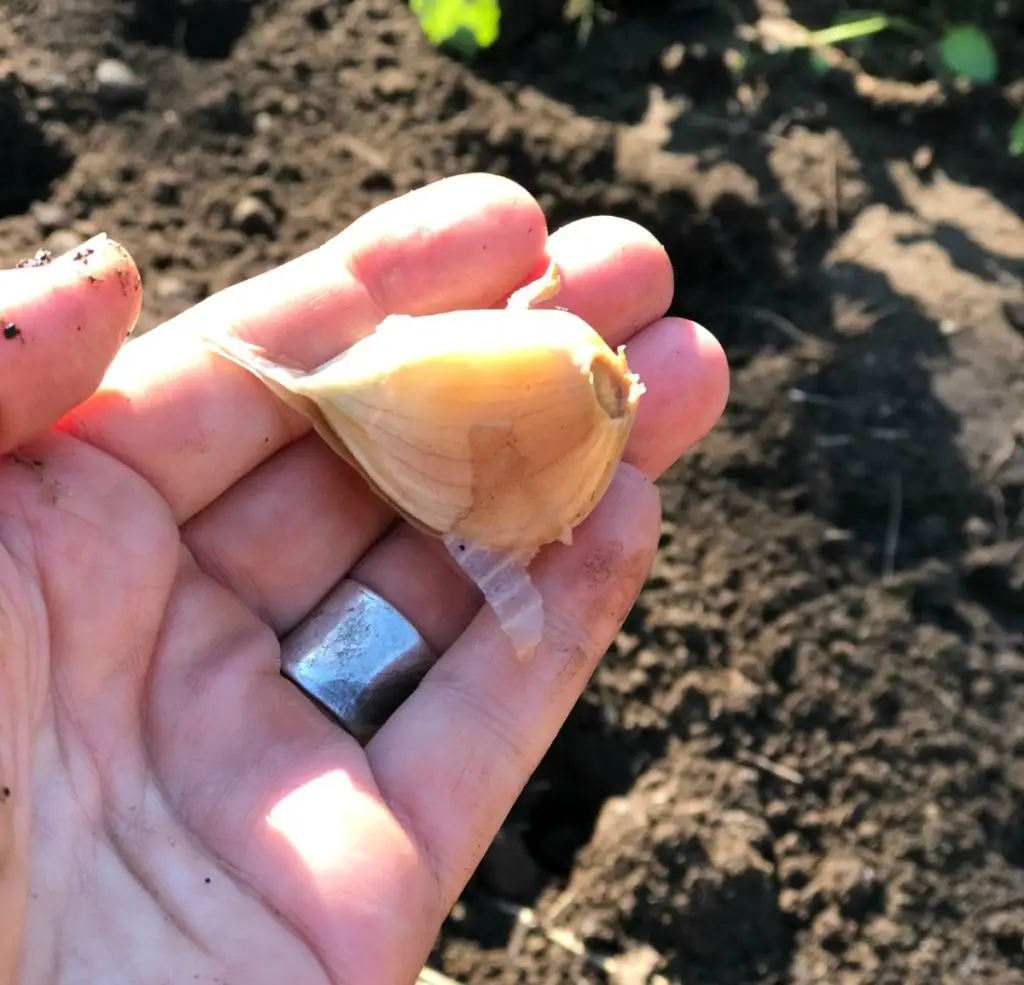
To plant, place the individual clove, pointy side up, into the hole. The pointy side is shown to the left, the root end is to the right in the pic below.
I plant the entire bed of cloves and then back rake the soil into the holes. No need to firm the soil into the holes. A good rain will do the job for you!
Lastly, add a thick layer of mulch on top of the bed. I like to use straw. I add 8-12 inch thick layer over the top of the bed, extending a bit beyond the planting area. If you don’t have access to straw, mulched leaves, grass clippings or hay can be used as well.
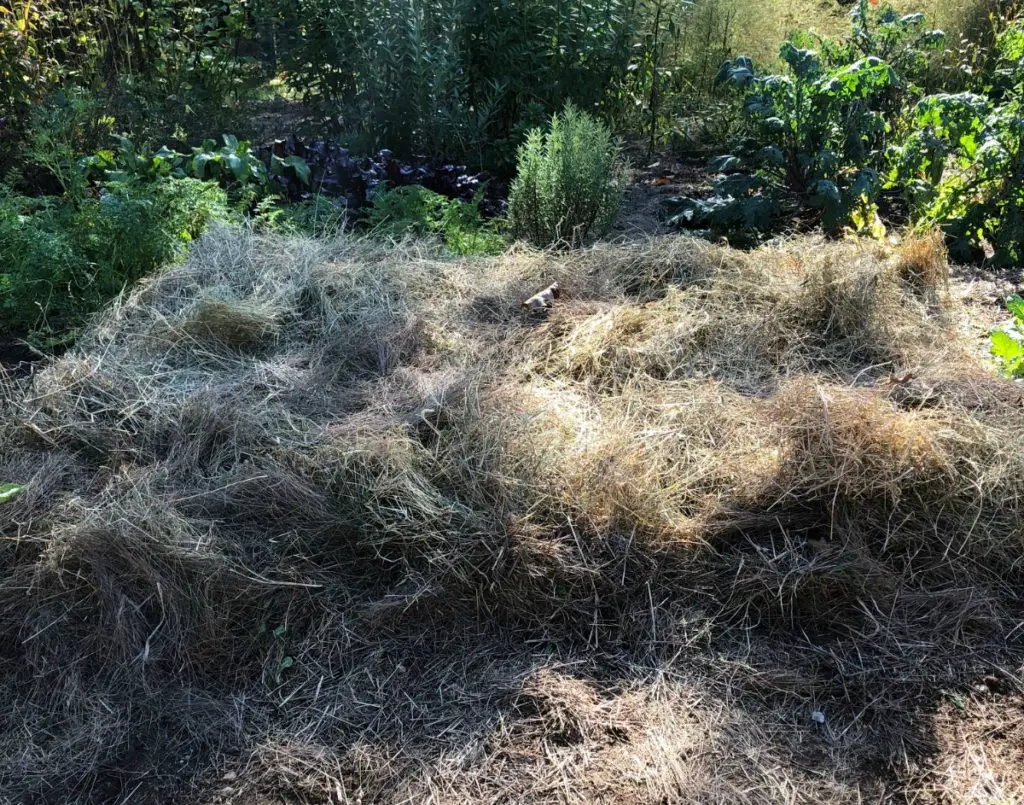
Early spring, once the ground thaws, check to be sure that the sprouting garlic is able to emerge from its bed of mulch. You may need to loosen the mulch around each planted clove in order for the green shoots to emerge successfully. You may find that some of the shoots have yellowed and turned under the mulch. No concern, they will correct themselves in no time flat!
If you’ve planted your garlic and are awaiting the harvest, be sure to check my post “Amazing Garlic – Harvesting, Drying & Storing“ for tips and suggestions of how to harvest & store your garlic crop long-term.
Will you be planting garlic this year?
Love, Light, & Laughter ~


18 comments
Thanks for the great tips. I’ve had ok luck with garlic, but I think I want to change varieties this year.
THanks for sharing with us on the homestead Blog Hop. We’re featuring you this Wednesday.
Garlic is so easy to grow. A couple of years’ ago my Neighbor gave me three plants of garlic. she told me her yard is full of it! She uses it for ground cover and foliage around her landscape. So, I planted it, and we harvest a little and leave the rest to continue on for the next few years. I hope to have a full area that we can use for half harvest and half seed starting for the upcoming future. Great article and very in depth info.
Wow, a video! Thanks for the level of detail here!
Suzan,
Great post. My son always plants garlic but I don’t think it works here in Florida since we don’t get that cold. Congratulations, you are being featured at Thursday Favorite Things. I hope you stop by. https://www.eclecticredbarn.com/2021/08/thursday-favorite-things-party.html
Hugs,
Bev
I appreciate the love, Bev! Although challenging, garlic has been grown successfully in FL. Choosing the right type of garlic, softneck in this case, and giving it a simulated “cold” treatment by storing it in the refrigerator for 6-8 weeks for those in moderately warm areas like FL, as well as planting in the fall months is important to creating success. Hope you can give it a try!
I recently planted some garlic in my herb garden. None of it was coming up yet, and now I know why. This post was great for answering all questions about garlic. Thanks !
So glad you found this useful, Michelle! Thanks so much for stopping by!
I saw your link at Friday Favorites Linky Party. I didn’t know anything about planting garlic! We are recently in a new home with space for a garden now, so this information was very helpful. Thank you!
You are so welcome, Marielle! Hope you can give planting garlic a go. Thanks so much for stopping by & reading!
What great information!
i grew garlic in my raised bed last year. When I pulled them I must have missed some, or at least some cloves. When I got home in mid-July I was pleasantly surprised to find four nice sized bulbs to pull and use. I’ll same the nice large one to plant cloves for next year. – Margy
They do like to self-sow if you let them. I always have a few volunteer plants each year. Thanks so much for reading!
How wonderful to have your own garlic crop year after year! Thank you so much for sharing this really helpful and informative post with Hearth and Soul, Suzan. Pinned! Take care and have a lovely week.
Wonderful instructions, Suzan! Thanks so much for sharing!
Wonderful tips for garlic planting. I might give it a try. Thanks for sharing your knowledge at “Love Your Creativity.” Have a wonderful weekend.
Thank you for sharing at #OverTheMoon. Pinned and shared. Have a lovely week. I hope to see you at next week’s party too!
I really enjoyed this post. We are not able to have a garden where live currently, but I hope to one day again soon. Pinning for future reference!
And thank you for sharing this week at our Encouraging Hearts & Home blog hop!
Thank you, Linda. So glad you enjoyed it and thank you for pinning!