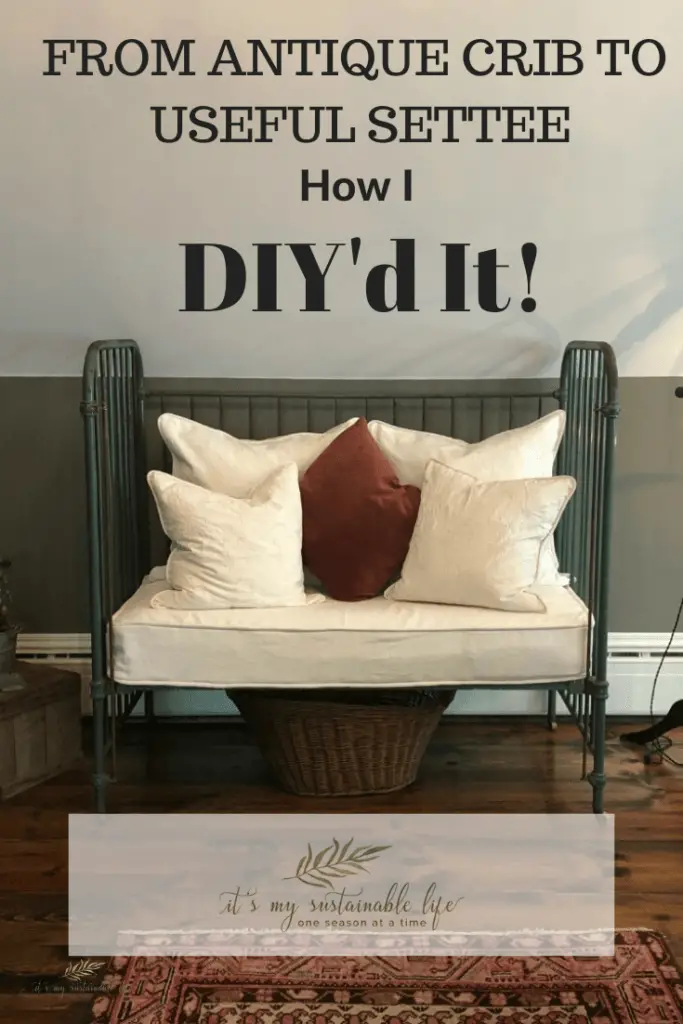
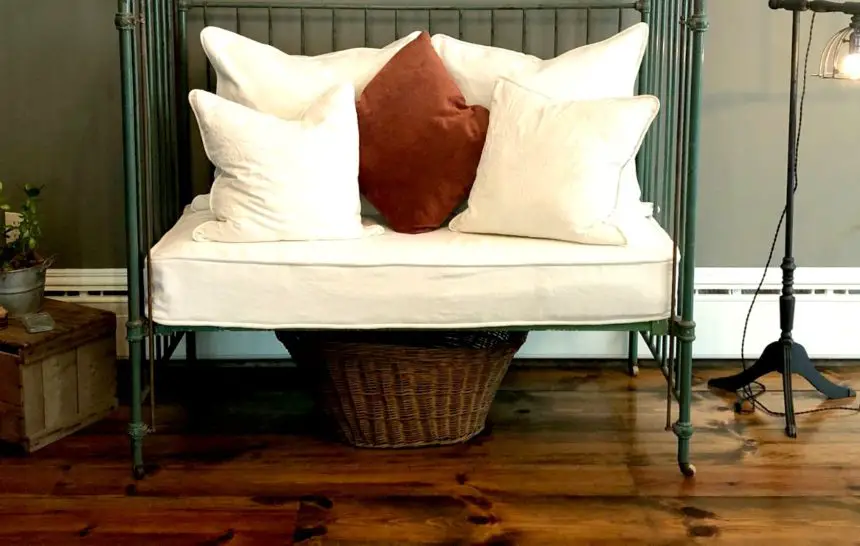
I LOVE vintage things. You know, the stuff that they no longer make. Quality stuff that has been discarded as no longer useful only to find a new home and use. So is the case for this antique, rod iron, crib that I discovered at an estate sale for only ten bucks! It was love at first sight and I knew I had to convert it into a repurposed settee/daybed.
This article may contain affiliate links. I may receive compensation from any of the links utilized at no additional expense to you. Please refer to my Privacy & Disclosures. All recommendations expressed are my own.
In the process of renovating our space (I call my “cathedral”), over the garage into a family and office area (keep your eye for a post on the room transformation in a future post), I had an area behind my “office” I knew I wanted to turn into a little seating area. When I stumbled upon this crib tucked away at an estate sale for so little money, I knew what it had to become.
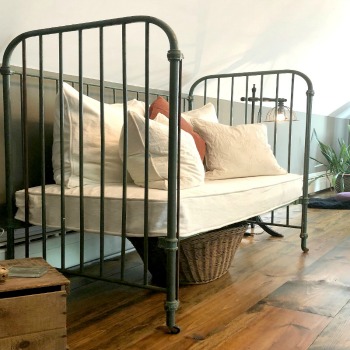
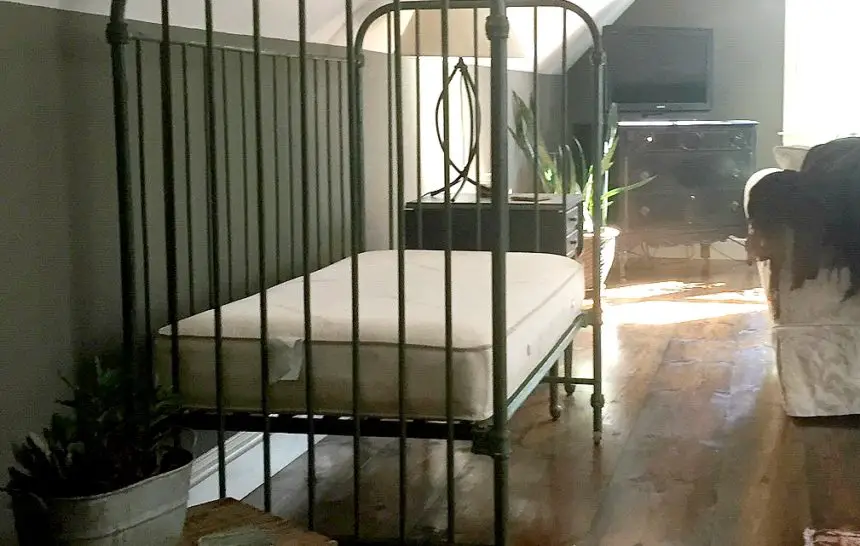
Home it came with me. I also got a little wooden lamp that you can see in the top picture for free! I repurposed that into one that we would use. Removing the front gate of the crib, the piece that lifts up and down, created my opening for the seating area. I will use the gate for something else down the road. I loved the color and patina which only time can create, so I decided to leave as is and not paint.
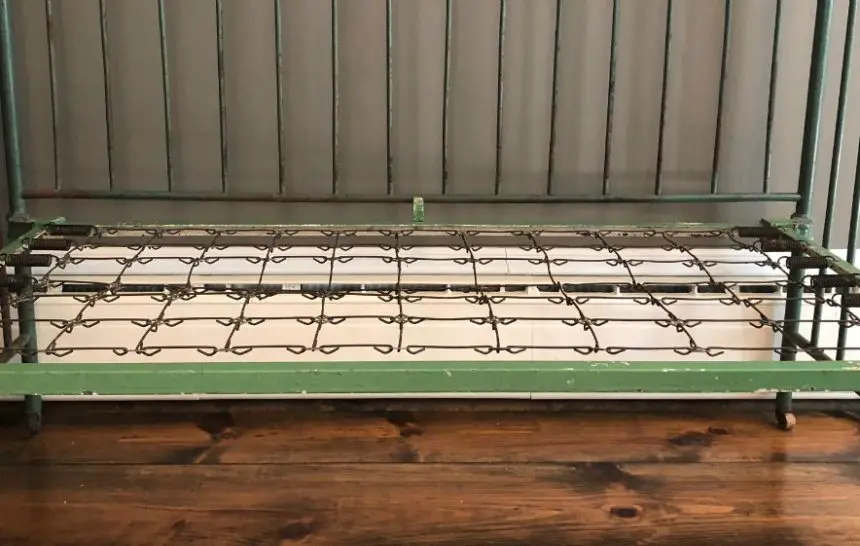
This crib came with the original springs! No need to add a hard, unforgiving board to hold the mattress. With the mattress on, it’s, well, springy!
Since I have no small children, I needed to search for a crib mattress and was fortunate to find one locally for $20 in perfect shape.
Next up was finding the fabric I wanted to use for creating the mattress cover and pillows, and teach myself how to sew the upholstery covers. Thank goodness for YouTube and a wonderful teacher I came across, Peg Baker. Her tutorials can be found here. For the mattress cover, I used her tutorial named “Little Striped Cushion – Introduction to Boxed Cushion Construction”. For the pillows, I went by her video called “How to sew a pillow with piping and zipper”. Following her direction, I found I had no reason to be intimidated about sewing upholstery covers. Thank you, Peg!
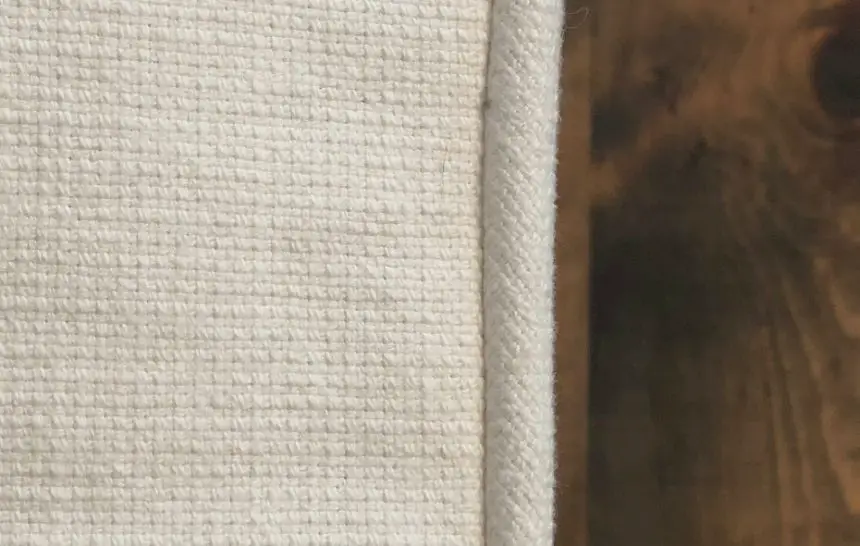
I knew I wanted a white but wasn’t sold on many of the fabrics out there. After months of vacillating on which fabrics to choose, I finally went for it. A very neutral small linen weave for the mattress and the larger two pillows from Gray Lines Linen. My exact fabric can be found here.
The cost of this fabric was by far my largest investment for this project but was well worth it. It was a dream to work with, soft yet strong enough for occasional use, silky and pliable.
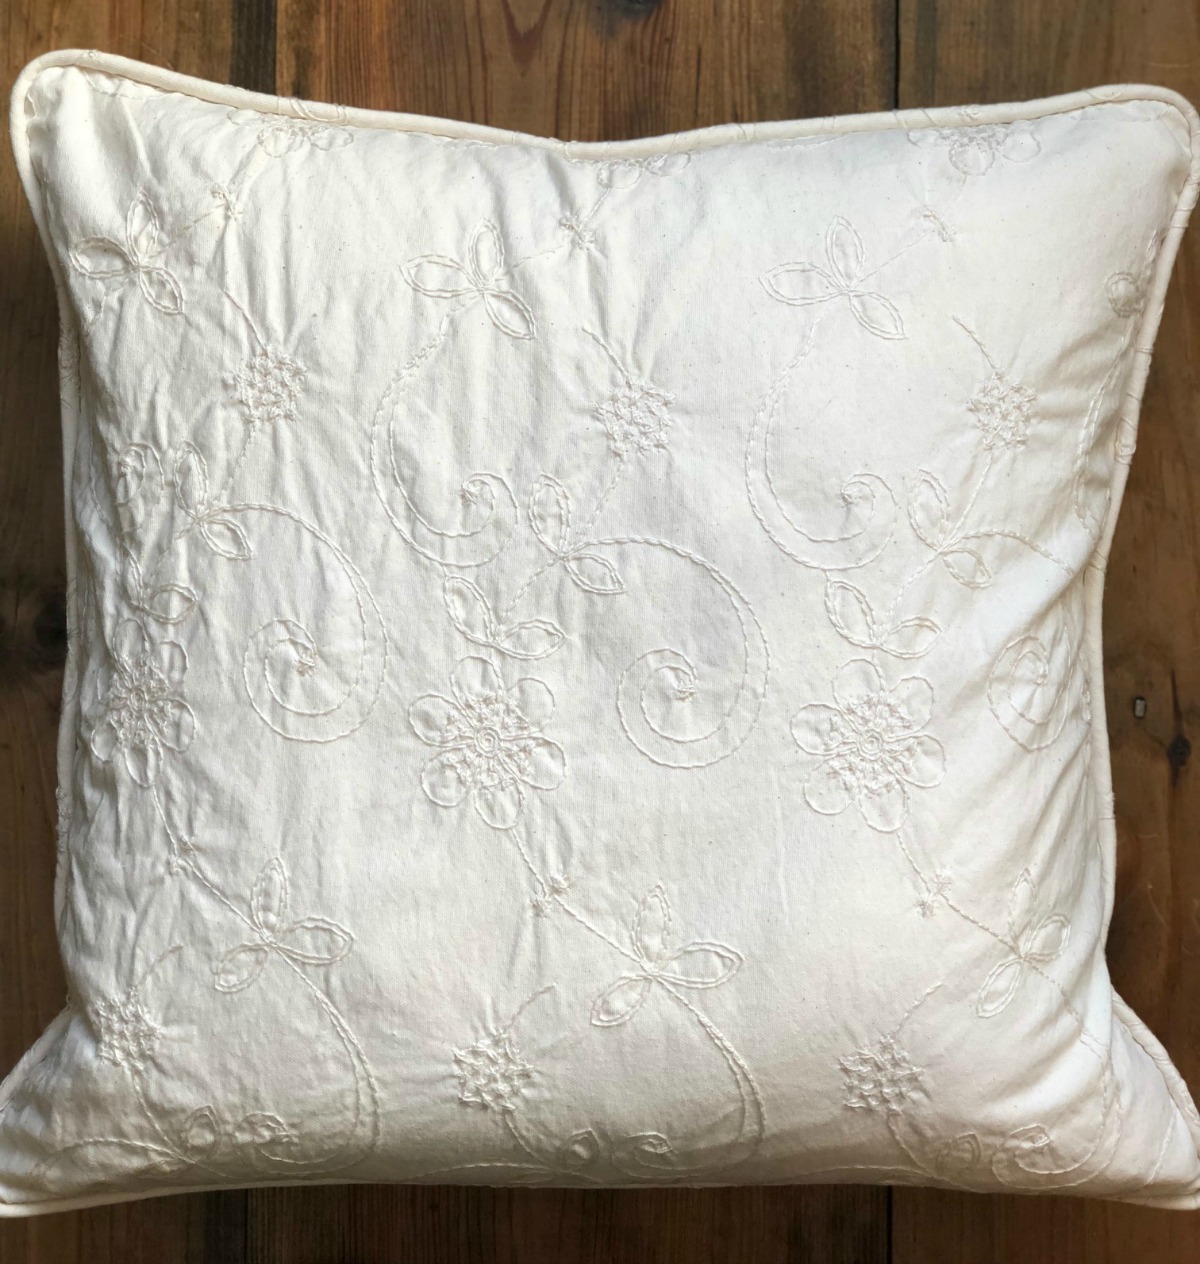
For the smaller two pillows, I decided on a candlewick type fabric to give a bit of texture which can be found here.
I knew I wanted feather pillow inserts, but certainly did not want to break the bank! IKEA had the perfect pillow inserts for an extremely affordable cost.
Overall, I am very pleased with the results. I certainly learned many new sewing skills with this challenge. Should I ever make a boxed cushion cover with a zipper again, I would make it the exact size and not add seam allowances. This would have made for a more snug cover.
Next up is the search for the perfect fabric to make a center pillow or bolster pillows to bring color to it. I would love something to pick up the salmon tones in the rug, but alas the search goes on. Also on my list of finishing touches, a knit or crocheted throw, maybe in neutrals or color (which do you think?) to add additional texture. I will update once completed and adorned! Follow me for a future post on the final project.
Have any suggestions to make this even more inviting? Love to hear them!
Love, Light & Laughter~
