Canning headspace is a term canners of all levels will want to become very familiar with, understand its importance, and put into practice.
This post may contain affiliate links at no additional cost to you. By making your purchases through the links on this website, IMSL may make a small percentage at no direct cost to you. IMSL only promotes products we use & truly believe in. Please refer to my Privacy & Disclosures for further information. IMSL thanks you for your support!
When it comes to canning & preserving your own food, safety is paramount. It’s my goal in this canning safety series to help guide you (think beginner here) or remind you (yup, I need reminding all the time) of how you can put up your families food safely and without issue.
IMPORTANCE OF SAFE CANNING PRACTICES
Understanding why it’s important to follow safe canning guidelines and practices is the first step in, well, creating safe food to eat. Although there are many safety guidelines which need to be met in order to have this happen, the biggest concern of not canning safely is botulism.
Botulism is real people. It’s not something that only happened in the 1600’s. It can and does happen, although in rare instances, in present time.
DEFINING BOTULISM
According to a quick Google search, the definition of botulism is as follows:
“food poisoning caused by a bacterium (botulinum) growing on improperly sterilized canned meats and other preserved foods”
Oxford languages
Botulism, according to the CDC, “is a rare but potentially deadly illness caused by a poison most commonly produced by a germ called Clostridium botulinum. The germ is found in soil and can survive, grow, and produce a toxin in certain conditions, such as when food is improperly canned. The toxin can affect your nerves, paralyze you, and even kill you.”
Definitely not something to fool around with. Any even scarier? Botulism is literally undetectable to the average person. It cannot be seen, smelled, or tasted even in small amounts. It’s deadly and needs to be taken seriously.
Other canning safety guidelines will be gone over in-depth in upcoming posts. Think equipment, recipes (always use safe canning recipes only & leave your Grandmother’s recipe alone), sterilization practices and more.
Today, we focus on headspace.
HEADSPACE FOR CANNING
By definition, canning headspace is the empty space at the top of the jar which is left between the food or liquid you’ve placed in the jar and the top rim of the jar where the lid is placed. It’s this empty space that is paramount in creating an end product that is shelf-stable and safe to eat.
THE IMPORTANCE OF HEADSPACE
Why is this “empty” space so important? Largely to create a safe seal. To ensure that the jar is sealed properly will reduce risk of unwanted bacteria entering the product.
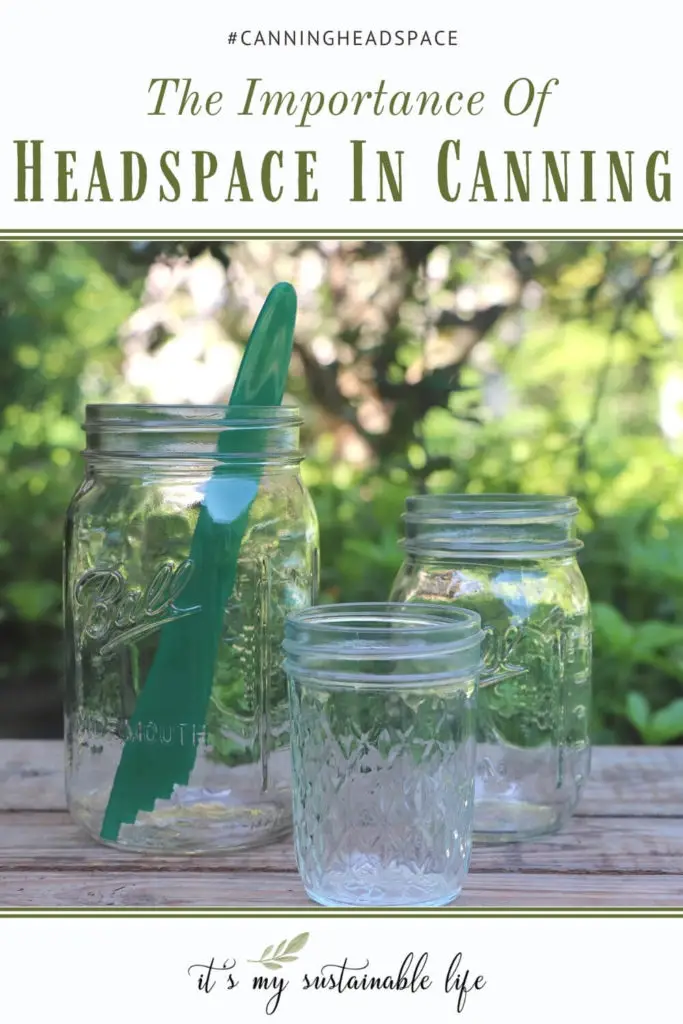
According to my favorite source for all things regarding safe canning practices, the National Center For Home Food Preservation, it’s important to have the right amount of headspace when canning for the following reasons.
“If too little headspace is allowed the food may expand and bubble out when air is being forced out from under the lid during processing. The bubbling food may leave a deposit on the rim of the jar or the seal of the lid and prevent the jar from sealing properly. If too much headspace is allowed, the food at the top is likely to discolor. Also, the jar may not seal properly because there will not be enough processing time to drive all the air out of the jar.”
NCFHFP
They even go so far as to recommend that no food should be sticking up into the “empty” headspace. The above sums it up pretty nicely as to why headspace is so important in canning.
In a nutshell, headspace is needed to allow for proper expansion of food when the jars are heated through processing, and for creating the vacuum seal when cooling. When heated to the high temperatures needed in canning, the air left in the headspace expands. The higher the temperature reached, the greater the expansion.
It should also be noted, that foods expand less than air when heated. Thus, when using a pressure canner, headspace requirements typically will increase.
GENERAL HEADSPACE RECOMMENDATIONS
As a general rule of thumb, plan on leaving the following headspace when canning these foods.
- Jams & Jellies – 1/4 inch headspace
- Tomatoes, Fruits, & Pickles – When water bath canning these food items plan on 1/2 inch headspace
- Low Acid Foods – When pressure canning most low acid foods (think red meats, seafood, poultry, milk, and all fresh vegetables except for most tomatoes here) leave 1 inch headspace
- Exceptions – As with any rule there are always a few exceptions. When canning some vegetables and meats, a 1/ 1/4 inch to 1 1/2 inch headspace may be required.
Note that too little headspace can result in “siphoning” or foods bubbling and leaking out when the air expands & is forced out with processing. Food particles may also prohibit the jar from sealing properly.
Too large a headspace and the foods within may discolor and the jar may not properly seal, creating a “false seal”, as the time allotted may not be enough to remove all the unwanted air.
HOW TO MEASURE HEADSPACE FOR CANNING
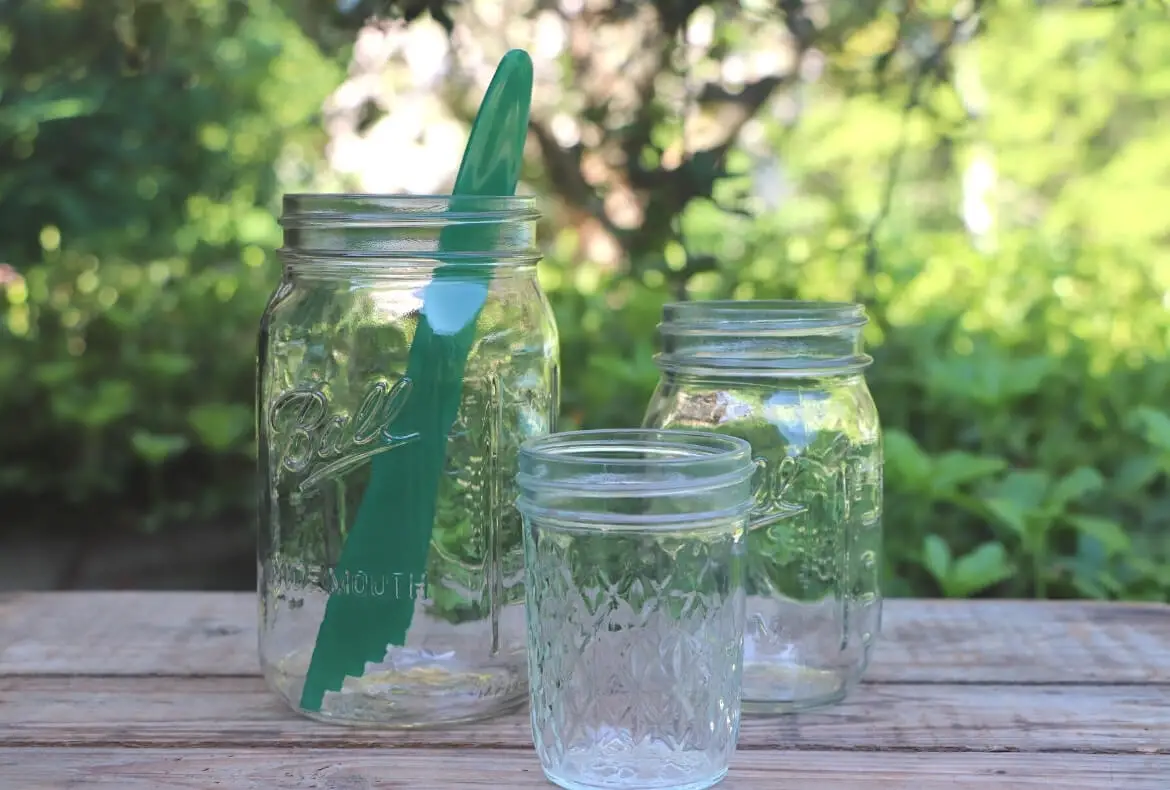
You will have a couple of options for measuring your required headspace for canning. You can simply use a sterilized plastic ruler to determine your headspace or you can use a headspace measuring & bubble remover tool found in most canning tool kits.
It’s important to note that when filling your canning jars, all air bubbles need to be removed (using the opposite end of the headspace measuring tool or bubble remover) and the headspace properly measured prior to placing the two-piece caps or lids.
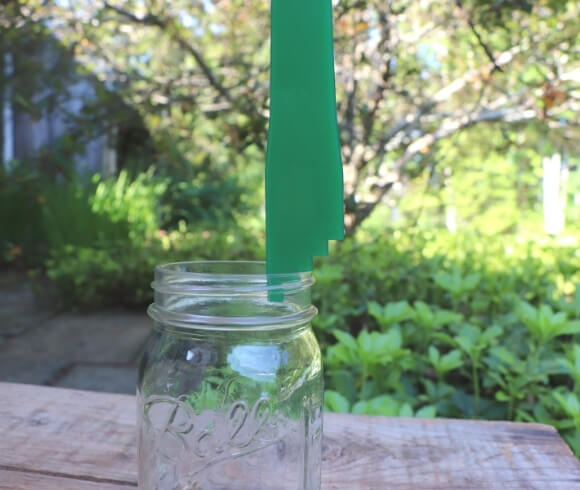
HOW TO USE A CANNING HEADSPACE MEASURING TOOL
To measure your headspace using the headspace tool, the “steps” or ridges in the tool correlate with 1/4 inch increments reaching all the way to 1 inch.
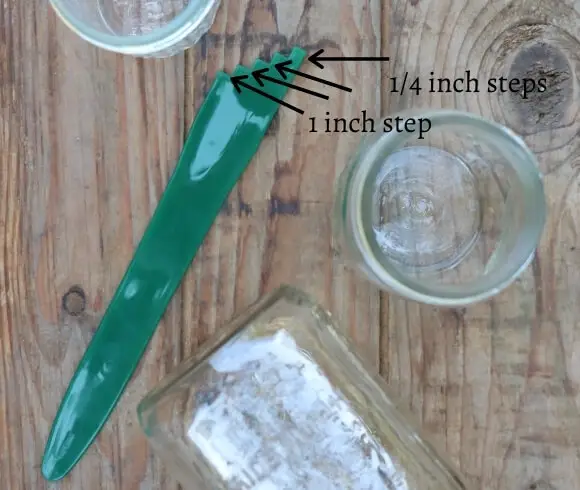
To use, place the appropriate measuring ridge on the side of the jar. The bottom edge of the headspace tool should just meet the top of the food line.
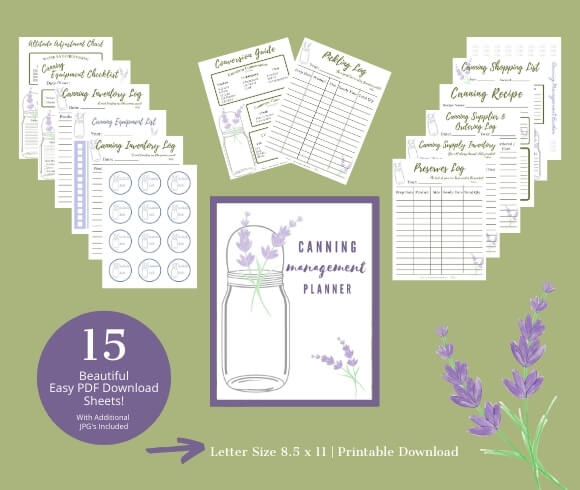
CANNING MANAGEMENT PLANNER PRINATBLE!
Need help managing all your canning efforts? Be sure to take a look at my affordable (and did I mention cute?) Canning Management Planner available to download in my Etsy Shop!
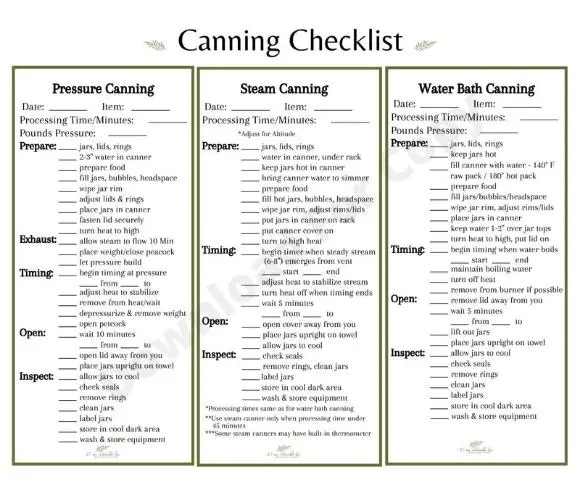
CANNING CHECKLIST CHEATSHEET
To help you along with your processing efforts, I’ve created a unique FREE Canning Checklist cheatsheet listing all three methods of processing; pressure canning (article coming soon as well!), steam canning (instructional tutorial coming soon!), and water bath canning.
Print and laminate your copy of the Canning Checklist cheatsheet to use over and over again when processing! Simply use a washable marker to check off the list as you go! Once complete, wash the laminated list and you are ready for the next time you process!
Be sure to grab your FREE copy by clicking the button below 😊
Hopefully this has answered many of the common questions asked regarding headspace for canning. The importance of canning safely, & creating the exact required headspace for your safe canning recipe cannot be overly emphasized.
Have more questions? Let me know in the comments below & hopefully I can be of some help!
Did you find this tutorial on headspace for canning helpful?
Love, Light, & Laughter ~

OTHER POSTS OF INTEREST
Water Bath Canning For Beginners
Sensational Salsa For Canning Recipe



25 comments
This is very helpful. I’ve had the “bubbling out” occur now and again, so this will help!
Thank you for stopping by, Jennifer! I’m happy you found this useful, and may all our hard earned product stay in those jars 🤗
Good information! When I think about headspace in canning, I also think about leaving margin in my life.
Great info as usual! I don’t can so didn’t know how important the headspace is.
I never heard of “headspace” in canning before. Good info!
Great instruction! Canning gives a feeling of accomplishment!
Great information. I envy those who can foods. I never learned how.
I learned something new about canning. This looks like a neat tool.
Leave headspace when canning. Remember to leave headspace. Don’t forget headspace when canning.
I learned something new today.
I think I have that tool but had no idea what it was for 😅
This is so important. I remember learning about this in 4-H when we were canning for the fair.
We love canning tomatoes and salsa. This is a very timely post: more people seem to be interested in growing their own vegetables and in canning.
I knew not to overfill them, but I had no idea how important it was to keep them fresh. Thanks for these tips.
Haha, I’m such a rookie at gardening….I was thinking “yes, I’ve got to get in the right headspace for canning!” 😉 I’ve never done it but your posts are so informative and educational when I do!
😂 Too funny! Hope you can give it a try!
What an awesome little tool! I will have too look into getting me one! I just tend to eyeball it when I do my tomato sauce.
Definitely going to revisit this when I start canning! Definitely don’t need botulism in my life.
I’ve canned once and I totally would need help to do it again. There were so many parts that required precision that I’d forget doing it on my own. And leaving headspace (and knowing how much to leave) would be one of those parts! Thanks for the detailed description and info. It’s always helpful!
I had no idea that headspace mattered for canning. Thank you for the information!
I have seen this tool before but never realized what the ridges were for. So simple.
Great explanation! I have never heard Headspace for canning explained so clearly before.
We love making our own pickles and jams, these are very important tips! Safety is our number one priority when we are doing this because we are well aware in our family that if you aren’t careful you can get sick from improper canning practices.
Happy to hear you are familiar with headspace and realize the importance of canning safely!
We used to can when we lived in Virginia. Now that we live in Tennessee, we have NO storage space AT ALL. I have so many supplies too! I’ve never heard of the headspace too – so cool!
I didn’t realize how important headspace was! So interesting!