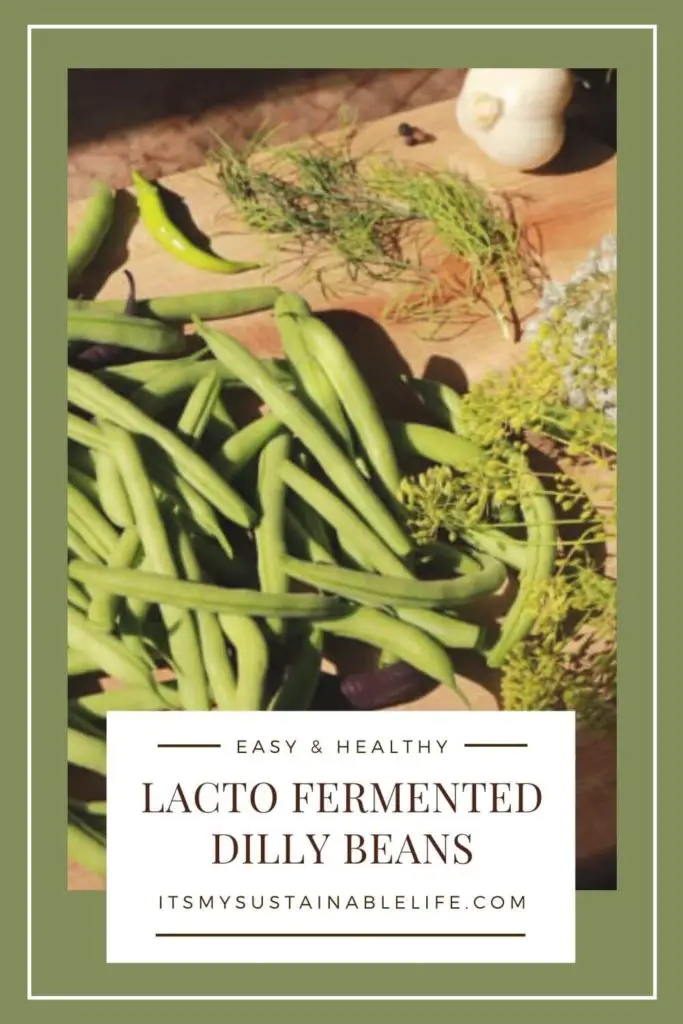
There may be no better quick, easy & healthy way to preserve fresh green beans than by lacto fermenting them! These dilly beans are crunchy, spicy, & scrumptious straight from the jar!
This post may contain affiliate links at no additional cost to you. By making your purchases through the links on this website, IMSL may make a small percentage at no direct cost to you. IMSL only promotes products we use & truly believe in. Please refer to my Privacy & Disclosures for further information. IMSL thanks you for your support!
For us here on the hill, summer means continual harvest time. We love our green beans, aka string beans, and grow a lot for fresh eating, pickling, and preserving to enjoy throughout the year.
We typically make traditional dilly beans (recipe coming soon). But when you need to preserve small batches of green beans, there may be no healthier & easier way to do so than by lacto fermenting them!
Don’t grow your own green beans? No problem! Grab a bag full at your next visit to your local farmer, market, or local grocer. We highly recommend utilizing only organic sources for any of your fermentations.
WHY LACTO FERMENT GREEN BEANS
For the health of it!! There may be no healthier way to preserve your green beans than by lacto fermenting them. Through the fermentation process the green beans are kept “alive” by introducing a plethora of gut-healing enzymes, probiotics, and additional nutrients, B12 anyone? Great news for all, especially for vegetarians & vegans!

The introduction of these healthy probiotics are a welcome addition to many diets. Especially Americans. Data is now showing exceptionally low gut bacteria thats needed for maintaining healthy gut microbiome. Largely due to consumption of processed foods, better hygiene (removing the beneficial traces of soil microbes), in addition to other environmental factors, “leaky gut” syndrome, gluten intolerances, & other gut health issues are on the rise.
Consuming fermented foods is a wonderful way to replenish healthy gut microbiome, thus strengthening the walls of the intestines. This “strengthening” allows the body to process nutrients as is intended and greatly reduces the likelihood of developing a “leaky gut”.
WHAT IS LACTO FERMENATION
Lacto fermentation, one of the earliest forms of food preservation which predates canning practices for food preservation. It is a simple process in which fresh foods are preserved. This process, unlike traditional dilly beans which utilize vinegar to acidify, creates a balanced environment of healthy bacteria & microbes to culture the food.
When fresh foods are lacto fermented, lactic acid is produced. A major contributor to the probiotics found in fermented foods.
Probiotics are live microorganisms belonging mainly to the lactic acid bacteria. They modify the microflora of the human digestive system, especially the intestinal microflora.
NCBI
ARE ALL FERMENTED FOODS EQUAL
Dr. David S. Ludwig, a professor of nutrition at the Harvard T.H. Chan School of Public Health, believes that not all fermented foods are created equal, and that the difference rests in the microbes. He states…
For instance, although cheese is fermented, it’s not known to bring the same health benefits as yogurt.
Dr. David S Ludwig
To insure you are receiving the beneficial probiotics of your fermented foods, look to yogurt (our easy to make homemade yogurt recipe is delicious & healthy), kombucha, & fermented vegetables (be sure to take a peek at our tutorial on how to ferment in a mason jar) such as kimchi and carrots.
When purchasing prepared fermented foods, Dr. Ludwig suggests looking for the term “naturally fermented” to ensure it contains probiotics & that “bubbles” are present in the liquid indicating the live organisms present in the product.
SUPPLIES NEEDED TO LACTO FERMENT
Although not numerous, there are a few supplies you will want on hand to create your ferment.
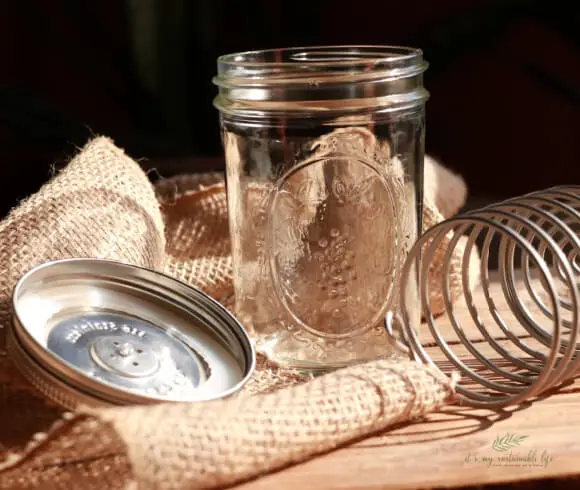
- FERMENTING VESSEL – Obviously you will need a container to hold your ferment. These can range from the beautiful, elaborate fermenting crocks to a simple mason jar (our favorite method). Mason jars are ideal as they come in varying sizes (pints to 1/2 gallon sizes are available) and work perfectly, especially when utilizing the Trellis Fermenting Kit
- FERMENTING AIRLOCK OR LID – The use of a fermenting airlock or lid makes the process of fermenting your food pretty full-proof. Some kits come with everything you need to ferment such as our recommendation of the Trellis Kit from True Leaf Market. Other options may just include the lid and weights are additional.
- FRESH GREEN BEANS – Choose organic fresh green beans, the best, most tender ones possible. You will need enough to fill your vessel of choice
- WATER – Fresh, unchlorinated water (chlorination may inhibit the growth of the beneficial properties we are seeking to establish and affect the fermentation process negatively).
- SALT – Choose a quality sea salt (high mineral content) for use in ferments. Iodized table salt should not be used
Iodized salt and salts with anti-caking agents should be avoided as well as they can also inhibit the beneficial growth in cultured foods.
IMSL
The following ingredient list is to make one quart size ferment. Adjust accordingly.
- GARLIC – 1 to 2 large cloves cut in half. Optional, add the flowerhead of garlic in lieu of one of the cloves. Beautiful & delicious
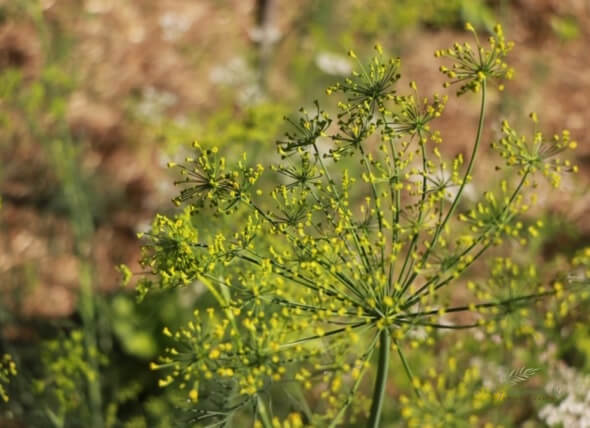
- Dill – 1 to 2 large sprigs of dillweed AND 1 to 2 dill flower heads
- Brine – The standard brine for fermenting is 1 Tbl Salt (sea salt or Kosher) to 2 cups fresh water. Adjust as needed. For the quart size mason jar, typically 2 cups brine is plenty. Optional: substitute 4 Tbl whey for 1 Tbl salt
- OPTIONAL – The following may be added at your discretion. The listed amount are for the 1 quart size ferment. 1 hot pepper (jalapeno, habanero etc), red chili flakes (1/2 tsp), cayenne (1/8 tsp to 1/4 tsp), peppercorns (5), bay leaves (2), or mustard seeds (1 tsp)
HOW TO MAKE LACTO FERMENTED DILLY BEANS
I. Start off any food preserving endeavor with a clean area to work and clean supplies. We like to sterilize our jars.
Cleanliness is your ferments best friend. Sterilize your equipment by placing jars, lids and any other equipment that can be safely boiled into a pan & cover with water. Bring to a boil and cook for 5-10 minutes at a slow boil.
IMSL
II. Prepare your green beans. Remove the stem, unless you pick & pre your green beans like IMSL in one easy step 🙂 Then that job is done for you! Video below. No need to go crazy here but make sure all flowers, debris, & soil is cleaned from the beans by simply rinsing them in cold water.
OPTIONAL: Some prefer to cut the green beans into inch or so lengths for smaller bite size pieces. That is always an option, but we prefer to leave full length.
III. In the jar size of your choice, add your flavorings. At a minimum add dill, & in our humble opinion garlic as instructed above in the ingredient list. You can then go from there with what you enjoy. We always add at least 1 fresh hot pepper (whatever kind we have growing in the garden).
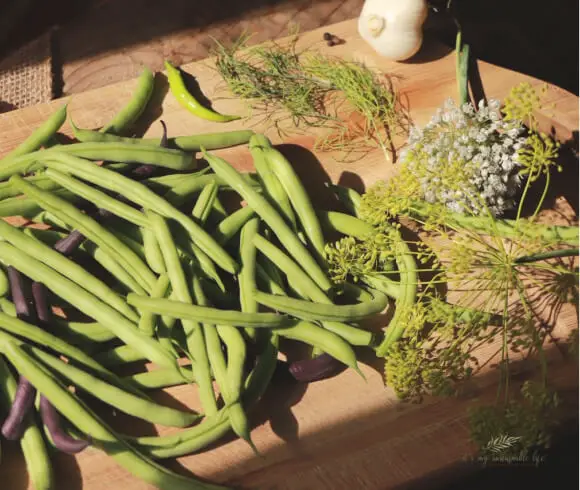
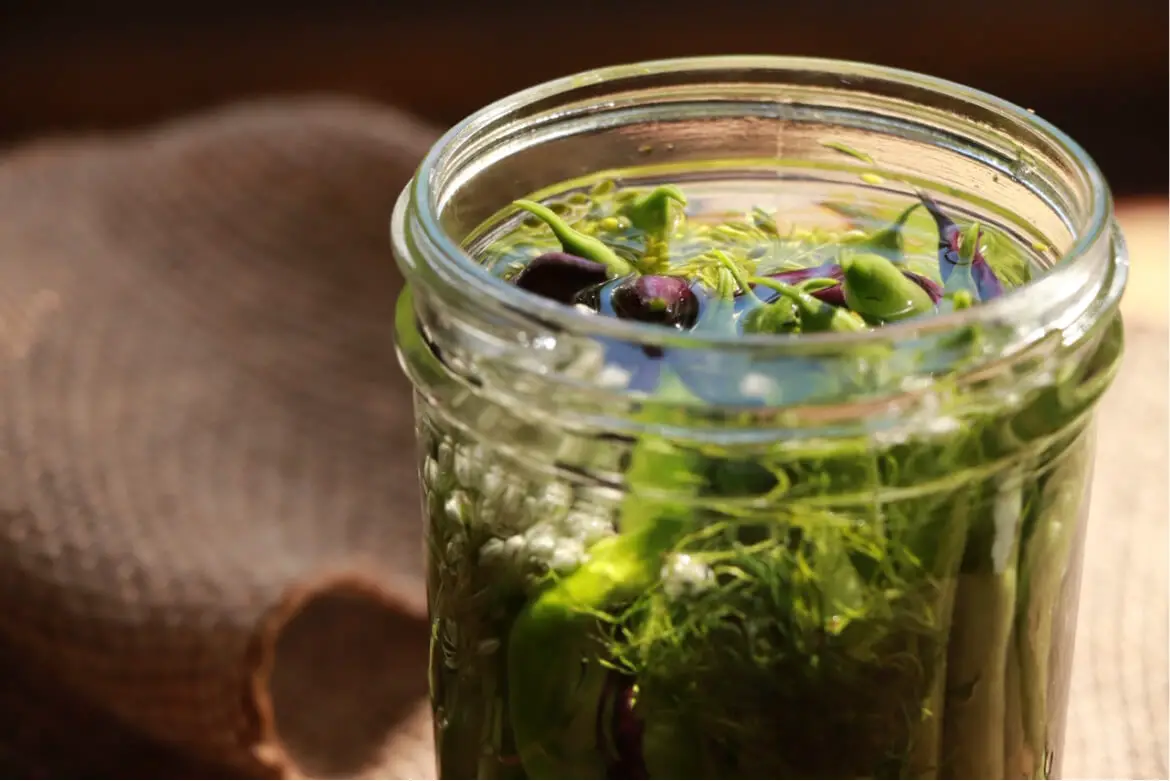
As we chose to ferment 1 pint this time around, we added the following ingredients: 1 dill head, 1 lg sprig of dillweed, 1 lg clove of garlic cut in half, 1 small hot pepper (jalapeno), 3 black peppercorns, and 1 small bay leaf.
That’s the beauty of fermenting! You can adjust, add, and change the ingredients to suit your tastes!! Other options we may give a try next time is adding a knob of fresh ginger cut into pieces along with a bit of turmeric. Or maybe another time a bay leaf and mustard seeds. The choices are endless.
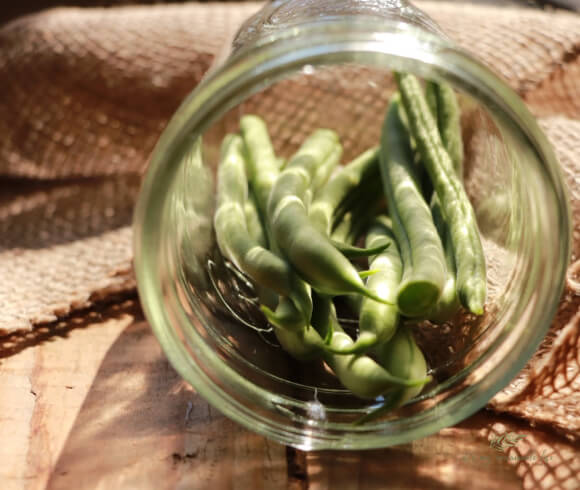
IV. Pack the jar with all your ingredients & green beans (as tightly as you can). We like to place all the ingredients lengthwise in the jar. This not only allows for a beautiful looking ferment, but also reduces the amount of brine needed.
V. Make the brine. For the pint size, we used 1/2 tsp Sea Salt to one cup fresh, unchlorinated water. Add both to a small sauce pan and heat slowly just until the salt has completely disolved. Let the brine cool to room temperature.
Once the brine is at room temperature, pour it over the green beans and other ingredients in your fermenting vessel. The brine should cover all completely. Make sure there are no air bubbles by gently tapping the vessel or using a canning bubble remover tool.
VI. Add a weight to the top or in our case, the helix coil which came with our kit, to keep the food products completely submerged in the brine. Food that comes into contact with air (not completely submerged) may develop mold & risk the entire ferment.
Commercial fermenting weights can be either purchased as the ones shown below, or many get resourceful & use what they have on hand. We’ve heard of some using large leaves such as grape, horseradish, or even oak leaves to hold their ferments down, although we’ve yet to try any of those 🙂 Others use glass paperweights, or even boil a rock to hold them down.
You get the picture. Your ferments need to be held under the brine completely in whatever manner you can create 🙂
VII. Cover tightly. Using an air-lock lid is preferrable as it allows for the release of gas (carbon dioxide & air) that may build up naturally in the jar. Another reason we love our Trellis kit. These one-way “waterless silicone airlock” lids are designed to allow the gasses to release without letting any oxygen in, creating a maintenance free fermentation process! No burping required!
Should you choose to use a conventional mason jar lid, be sure it is securely tightened and more importantly, don’t forget to “burp” or unscrew the jar every day or so to release any built up carbon dioxide, and then screw back on tightly! Better safe than sorry in this case. Use a convenient air lock system 🙂
Some simply use a weight, cover the jar with a clean cloth (secured with a rubber band) and ferment.
VIII. Allow the concoction to ferment. Place the fermentation vessel on a plate or bowl (to catch any overspill should it occur) in a dark cupboard or other undisturbed area and leave for at least 4 days, but up to 14 days. Cooler areas will take even longer to reach your desired fermentation. Remember to burp every 1 to 2 days if you’re not using an air lock fermentation system!

With fermenting, the duration & temperature of your space determines the “tanginess” developed. Ideally the ambient temperature should remain around 70 F to 75 F. During the hot summer months, we like to ferment in our cellar as it remains roughly 70 F. Hotter temperatures can encourage the growth of white kahm yeast. According to Cultures For Health…
Kahm yeast is not harmful, although it may be unattractive or even smell a little odd. It should be removed from the ferment so it does not impart a bad odor, but a little bit left in the jar is not harmful to the vegetables or to you.
CFH
It’s a personal preference. After 4+ days, take a spoon and dip it in to taste test. When it has reached your desired level of tanginess, remove the air lock, seal, and store. We typically like our foods to ferment more toward the 8 to 12 day stage.
WHAT TO LOOK FOR DURING THE FERMENTING PROCESS
Stuff happens within the first few days of fermenting. The lactobacillus begins its work turning food starch into lactic acid (it’s what preserves the foods!), bubbles begin to form around the top (the carbon dioxide forming), and frothing may occur. The brine begins to turn a bit cloudy & the beans and ingredients change in color. This is all a normal process & should be expected.
Some ferments may make themselves known to the household with a distinctive odor. We’ve found this really depends on the food(s) you are fermenting. These odors are completely normal & shouldn’t be of concern.
HOW TO STORE LACTO FERMENTED DILLY BEANS
Once your ferment is complete, remove the air lock lid and replace it with a BPA free lids. Words of caution: because of the acidity levels created when fermenting, traditional mason jar lids & bands will rust, making them not the best choice for this purpose. Although we don’t typically promote plastic options, these lids are reuseable & very handy when canning and fermenting, making them a great addition to any homestead kitchen.
Place your newly sealed jar of lacto fermented dilly beans into cold storage (refrigerator, cold/root cellar etc). These dilly beans will remain fresh and viable in cold storage for many months….if they last that long 🙂
HOW TO EAT LACTO FERMENTED DILLY BEANS
What is the best way to use your ferment? Well, straight out of the jar is always a good choice 🙂 Be aware that cooking these lacto fermented dilly beans may kill the beneficial probiotic bacteria, so use them cold in addition to any dish.
A few other options? Add a few chopped & added to our ultimate potato salad, tabbouleh or even a garden salad, a delicious tangy addition.
Used as you would any pickle or caper, these spicy fermented green beans are wonderful used in any charcuterie boards, alongside sandwiches (or even in them, think tuna or egg salad), & even homemade bloody mary’s!
Don’t throw away that brine once the beans are gone! This juice (aka “gut shots” in some health food stores) is packed with all the beneficials our guts are craving! Either drink as a shot & save a lot of money on those gut shots (just sayin’) or add to bloody mary’s, & homemade salad dressings.
MAY BE OF INTEREST
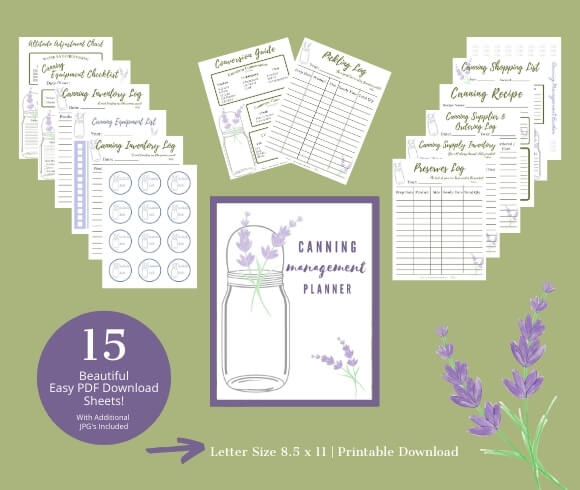
If your kitchen see’s a lot of food preservation like mine does, this one management tool is something that may be of interest.
I developed this printable binder for myself ( cuz’ I needed some kitchen organizational help & cuz’ I love pretty stuff 🙂 ), and thought I would offer it to others to utilize as well! Grab your copy and print away.
Your kitchen organization will thank you 😉
Hopefully this has inspired you to start fermenting. Using the fermenting kit makes it a quick process. We have not ever had issue with molding or spoilage. Follow these simple steps and its a pretty failproof system.
Don’t stop at green beans! Ferment just about any vegetable you enjoy, we love to use what comes in season for just this.
Already ferment? Your favorites, experiences, & suggestions are a welcome. Join our conversation below with your comments, thoughts, & recommendations. Love to hear from you!
Love, Light, & Laughter ~


45 comments
We ferment quite a bit, but have never done dilly beans. I’m going to have to try them. Thanks for sharing this with us on the Homestead Blog Hop, please come back again soon!
Dilly beans are a family favorite!
This is really interesting. I just made kimchi a few months ago and the process was similar. I guess it was also a fermenting process, just with cabbage.
These green beans sound so good! I love anything with dill in it.
Very in depth post! I have yet to try my hand and fermenting anything besides sauerkraut. I know where to come when it’s time to do something new!
Those look fabulous, we always have so many beans from the garden and never know what to do with them
This sounds like a great way to enjoy green beans.
Yum! I love fermented foods! These sound so good!
We always get tons of veggies from family and beans are abundant. I will have to try this. You always share great information. Love it.
Gut health has become more important as I have gotten older- so adding brine to my bloody mary is now for health! Thanks for the tips!
Ha! Get it anywhere you can, right?
I have learned to love fermented foods. I read once that dilly beans are great starter ferment for the newbies. Great post!
They are easy to do! Thanks for stopping by.
You always have the most interesting things to learn that I’ve been totally unaware of! Lacto fermented beans is no exception!
Thank you, Debbie!
I’ve watched videos on fermenting foods, but I never thought about using green beans, great idea!
I just love that you share all your knowledge! It is so cool because I always learn something new when I read your post!
Awww. Thank you, Lisa, for your kind words! I’m so glad you are enjoying the content.
We are a kombucha family! I had a scobie and was making my own each week, but my husband determined he liked certain brands better from the store…so…we buy it now! I’m glad they like it and choose a healthy gut!
Love kombucha, although we still make our own. Can never offer our guts enough healthy options! Thanks so much for reading.
I’ve never had lacto fermented dilly beans but your pictures and video are a great help for how to make them!
What an interesting concept! I have never heard of Lacto Fermentation, but it totally makes sense. Thank you for this information, I always love learning something new!
This was really cool to learn. I love me some green beans but haven’t even heard of lacto fermented dilly beans. I’ll have to consider trying this recipe out.
I have a friend who does this and swears by it for gut health. Now I have a resource! Thanks!
Hope you can give this easy one a try! Thanks for reading Tricia!
I haven’t visited your site in a while! But I love green beans (just had some for lunch lol) so definitely giving this a try so I can preserve the green beans we don’t get to eat on time. Just wondering… what kind of salt would you suggest? Is Himalayan pink salt ok to use?
Hi Wella!
Thanks for stopping by again! Any type of sea salt works great, including Himalayan. Let me know how you enjoy!
I’ve never fermented anything before, looks interesting.
I love when I read and I learn so much. These sound like they are very tasty too.
That they are, Douglas! Enjoy!!
Hello, this is one of my favorites from Encouraging Hearts and Home, this week! Stop by and say hello, pinned!
Such thorough and well written info. Thanks!
So healthy for you! I don’t have much time to tackle new projects, but I definitely see the major benefits of fermented foods.
The beauty of this is its done easily within 15 min! Hope you can give it a try!
I just love fermented foods. I only had ONE green bean plant survive, so I will have to try these next year or find a friend with some extra green beans. Your posts inspire me so much, and this one is no exception! I am definitely going to start learning how to make lacto-fermented foods.
Also, I came across this article about fermented foods and Covid-19 if you’re interested: https://www.news-medical.net/news/20200708/Study-links-fermented-vegetable-consumption-to-low-COVID-19-mortality.aspx.
Thank you for stopping by & your kind words Ramae! I love to research so I welcome your link! Thank you!!
Such an interesting article. I love green beans, so this is intriguing, even though I don’t grow my own. And I love the tips of using the brine in other things too.
I’ve never had these before but definitely want to try! I’ve never fermented anything either but with your directions I might be able to pull it off
Thank you for the great info on fermenting foods and the tips for doing it safely! I am going to try this we my beans from my garden!
I’ve never heard of this before, but it sounds great! Thanks!
We are picking up our CSA basket today and I think the green beans will be available now. So I will have to attempt to make this!
Hope you can Jill! Let me know how you like it! Enjoy!!
This is a wonderful and very informative post, and thank you for the recipe!
I have a bunch of green beans that will be ready to pick soon. I am saving this recipe.
Have a great day,
Kippi
Fascinating. A very interesting read. I have had Dilly Beans before but don’t think that they were lacto fermented. Enjoyed reading this. Thanks for sharing.