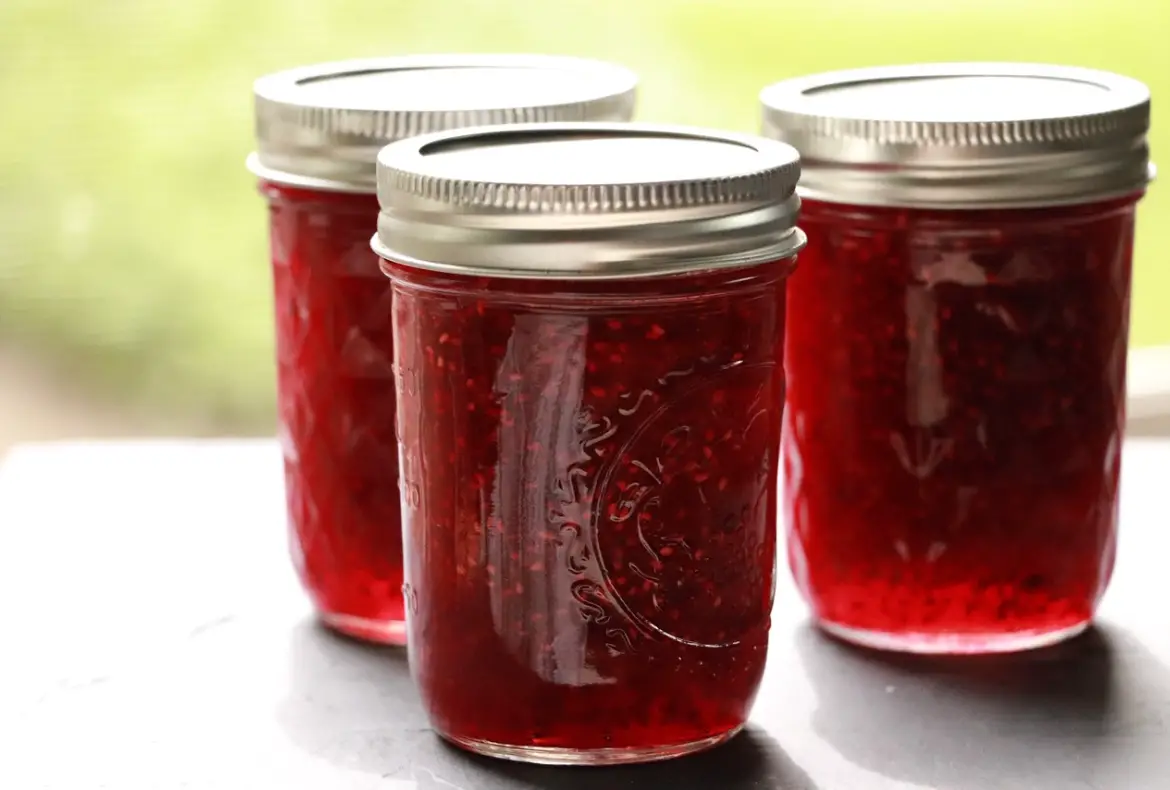
Red raspberry jam is one of our absolute favorite jams to make every year. There may be no better way to preserve the sweetness of summer than with this simple raspberry jam recipe.
This post may contain affiliate links at no additional cost to you. By making your purchases through the links on this website, IMSL may make a small percentage at no direct cost to you. IMSL only promotes products we use & truly believe in. Please refer to my Privacy & Disclosures for further information. IMSL thanks you for your support!
Every July our raspberry bushes offer the sweetest red berries anyone could ask for. What a wonderful snack to enjoy when passing the growing vines in the garden (my furry friend, Yogi, thinks so as well!
Here on the hill we freeze, preserve, can, and eat fresh all of summers berries to enjoy throughout the winter months. This year is no different.
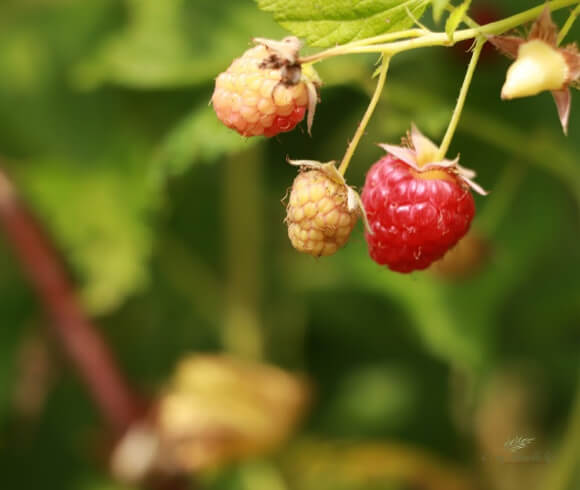
Raspberry jam may be one of the easiest jams to make. Taking only a few ingredients, you can enjoy this summer sweet condiment in many ways.
Enjoy by baking (thumbprint cookies anyone?), add to our homemade yogurt for a bit of summer sweetness, or so good in a simple PB & J sandwich.
IS RASPBERRY PRESERVES & JAM THE SAME THING
That is the question most often asked. Are preserves & jams the same thing? Are they interchangeable? In a simple answer, yes (and no).
Jams are made by cooking fruit and sugar into a thick mixture where the fruit is basically disintegrated into a sweet formless spread. Preserves are basically the same with the only difference that the fruit is typically left in larger chunks or form.
WHAT IS THE BEST RASPBERRY JAM RECIPE
With so many red raspberry jam recipes out there, which is the best? Anyone that you make using fresh, organic berries!

Yes, you can purchase organic raspberry jam. But why? When summer is in full swing & producing the most wonderful organic berry choices, why not take advantage and make your own to enjoy.
And did we mention? By canning & preserving you can not only enjoy the fruits of your labor, but also share & give as gifts. Who doesn’t love to receive a jar filled with love?
HOW TO MAKE RED RASPBERRY JAM FROM SCRATCH
When making jam you have 2 choices. To make without pectin (takes longer & requires a bit of skill to produce a firm, gelatinous jam) or with pectin, pretty much full-proof, fast, & easy. Not sure about you, but standing over a stove during 90 F weather waiting for my jam to gel is not so fun!
If making without the use of pectin is your choice, a wonderful guide from the USDA can be found HERE.
Anyone who know IMSL know we’re strong proponents of living organically. Finding organic pectin is difficult to impossible. If you know of one, please share your source! We will be exploring making our own pectin from our apple orchard this fall so that we have a ready supply come next summers jamming sessions! Be sure to keep your eye opened for that upcoming post.
That being said, we use a non-GMO option that has worked wonderfully, Pamona’s Universal Pectin. That being said, there is a LOT of information on making jams with little to no sugar. There are few concerns with reducing sugar in jams.
CAN YOU USE LESS SUGAR WHEN MAKING JAMS
Sugar plays a few important roles when making jams. Not only does sugar provide an added sweetness that most enjoy, it also aids in creating the gel formation as well as helping to prevent spoilage.
Simply reducing the amount of sweetener added to jams, jellies, & preserves is simply not an option on its own. The need to utilize specific gelling agents such as Pomona’s Universal Pectin or those containing starches & gums for achieving a gel must be used.
CONCERNS WITH USING LESS SUGAR IN JAMS
Should you choose to make your jam with reduced amounts of sugar, be fully aware that the shelf life of the opened jam is greatly reduced. Molds & bacteria may form at a much more rapid rate when using low sugar alternatives.
“Because these contain less sugar than regular jams and jellies, they are more susceptible to mold growth.”
Morris
In addition, additional processing time in a water-bath canner may need to be instituted in order to help reduce micro-organisms that may cause spoilage when using reduced-sugar options.
With all that being said, we choose to use a base recipe taken from our trusty Ball Blue Book of canning (not so easy to find this original book). This tried & true recipe produces a wonderful jam, and more importantly is safe to follow.
The original Ball Blue Book, the actual book that is blue anyway, is somewhat difficult to find, and if you can find it it’s typically expensive to buy. Below is a wonderful alternative with many of the same guidance and recipes found in the blue book, but at a reduced cost.
RED RASPBERRY JAM RECIPE
To make this long standing favorite jam of many is easy. As with any project, gathering the appropriate tools needed prior to beginning saves time & effort.
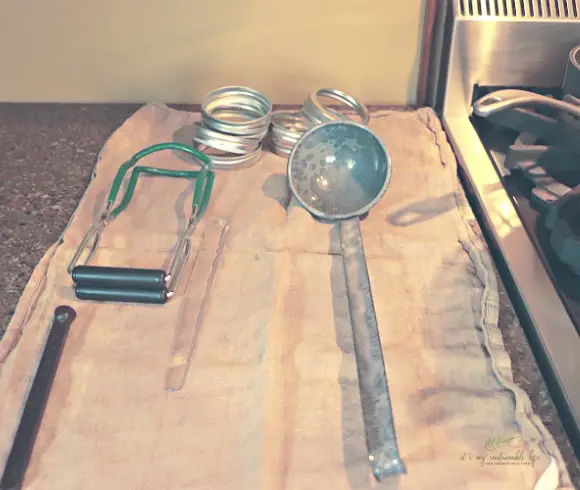
I love using my Grandmother’s canning tools when processing. I can feel her love and support with every ladle full! Please note: not shown in above picture is a funnel.
If you are not familiar with safe canning procedures be sure to scroll to the right, sign-up for our once per month newsletter, “Happenings On The Hill” and download our easy to following “Canning For Beginners” eBook available for a short time only.
These directions are for using the water bath canning method. Alternatively, and especially when you will be preserving a small batch, you can choose to utilize the steam canning method.
Gather your supplies:
- Large Stockpot (for jam, we use a Maslin pan but if you can afford it, copper pans are ideal)
- Large Stockpot (with rack for water-bath canning)
- Small Pan (for caps)
- 8+ Canning Jars (we use & recommend 1/2 pint jars)
- New Lids (never re-use canning lids, they are a one time use for canning)
- Rings (these may be re-used so long as there are not dings, rust, or corrosion)
- Jar Lifter
- Bubble Remover
- Magnetic Lid Lifter
- Funnel
- Ladle (highly recommend investing in one with “handle” for canning)
- Spoon (for mixing & stirring)
Lehman’s have wonderful canning supply options available at very good value, including a canning kit containing all the canning tools (funnel for regular and wide-mouth jars; jar lifter; jar wrench; jar cleaning brush; and combination magnetic lid lifter and bubble remover) that you would need to begin canning. Be sure to compare their options with those listed above.
For the expert or the novice, find all the cooking, canning and food preparation supplies you need at Lehman’s.JAM TIPS
A few notations before you begin your jamming process. Plan on small batch jamming. We have not had great end results by “doubling” the recipe. Doubling the recipe may lead to your jam not setting. Better safe than sorry. Stick to a one batch recipe at a time.
Every once in a while you will find that the jam doesn’t “set” or is still runny. Should this happen, not all is lost. You can rework or “remake” your mixture (basically cooking once again) in hopes it will set. Or, can your mixture and use as a syrup, glaze, or topping for desserts.
Different altitudes require different processing times. Basically, the higher your altitude, the longer the times. Follow the chart below. Don’t know your altitude? Find out yours at “free map tools”.
Once you’ve determined your elevation or altitude, follow the following guidelines for processing times in your water-bath canner.
- Up to 1000 ft – follow the recipe guidelines
- 1000 ft to 3000 ft – increase the processing time by 5 minutes
- 3001 ft to 6000 ft – increase the processing time by 10 minutes
- 6001 ft to 8000 ft – increase the processing time by 15 minutes
- 8001 ft to 10,000 ft – increase the processing time by 20 minutes
Always add a few jars, lids, and bands to the approximate yield suggested on the recipe. For instance, the recipe used here suggested that it would make approximately 5 half pints of product. I prepared enough jars, lids, & bands to fill 9. Eight half pints were the result of the recipe. Don’t be caught not having enough jars, bands, & lids prepared to fill when needed. Take our word for it….it’s a pain in the hiney 😊
INSTRUCTIONS FOR MAKING HOMEMADE RED RASPBERRY JAM
I. Wash your jars, lids, and bands needed for this recipe in hot soapy water & rinse well. As stated above, the suggested yield is 5 half pints. Plan on between 8-9 depending on the size of your berries.
II. Place the lids in the small sauce pan & cover the lids with water. Bring to the boiling point, reduce heat to low to keep warm until ready to use. Place the magnetic lid lifter on top of one of the lids, ready to use.
PRO TIP: When placing the lids into the sauce pan covered with water, be sure to place them all “facedown” shiny side up. This allows for easy, ready to place on top of the jar, removal with the magnetic tool.
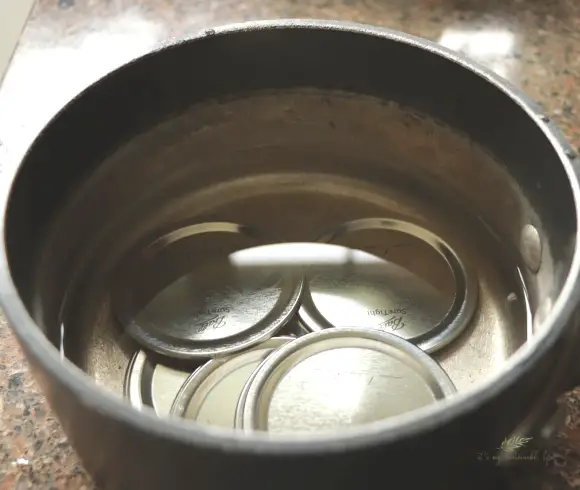
III. Set a towel next to the stove with the clean bands, jar lifter, funnel, bubble remover, & ladle ready to use once the jam has completed cooking.
IV. Place a large water-bath canner on the stove & place a cooling rack on the bottom of the pan. Place your washed & rinsed jars onto the rack and cover all with at least 1-2 inches of water. Bring to a boil & sanitize the jars by boiling for 10 minutes. Reduce the heat to med-low to keep hot & keep the jars in the hot water until ready to fill.
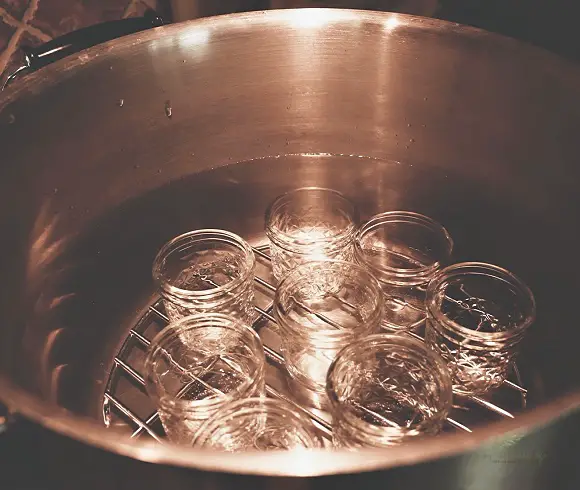
PRO TIP: Never plunge cold or room temperature jars into boiling water as the jars may crack. Heat the jars up along with the water to slowly increase the jar temperature safely.
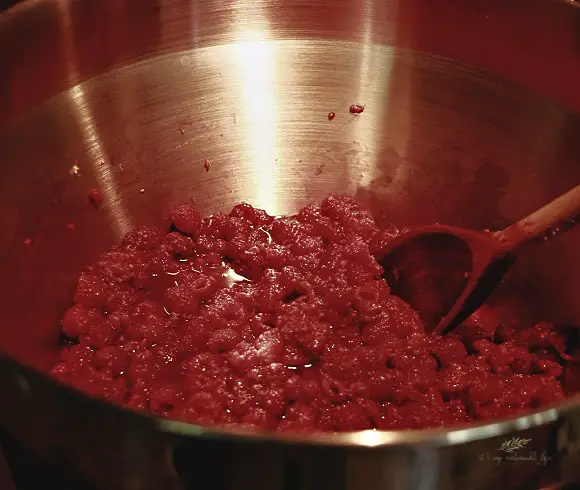
V. Place 2 qts of fresh, washed & dried, red raspberries into the pot you will be using. Add 1 pkg pectin (if using powdered/see note about liquid pectin below), 1 Tbl lemon grated lemon peel, 1 Tbl lemon juice, and 1/3 C water in with the raspberries. Optional: 1 Tbl butter to reduce foaming. Bring to a boil, stirring constantly.
PRO TIP: No need to crush the berries. The cooking process will deconstruct them to perfection.
VI. Add 6 C sugar (our favorite organic brand can be found HERE) to the berry mixture. Return to a rolling boil (one that does not stop bubbling when the heat is turned off) & boil hard for 1 minute. Skim off any foam. Proceed to jarring.
LIQUID PECTIN: Follow the directions received with the purchase of your pectin. If using liquid pectin, do not add to mixture prior to boiling. Instead, bring the raspberries, lemon peel, lemon juice, & water to boil, add the sugar & bring to boil. Boil 1 minute. Add the liquid pectin (1 pkg) return to a boil & boil for 1 minute longer. Skim off any foaming. Proceed with jarring.
VII. Jar the raspberry jam using safe methods listed in our FREE eBook, “Canning For Beginners”, leaving 1/4 inch headspace at the top. Place filled jar back into the water-bath canner. Once all are filled & in the canner, bring to boil and process for 10 minutes (start timer once water is at a boil). Adjust the processing time according to your altitude (found above).
VIII. Remove the processed jars from the water-bath canner & place upright onto a thick towel or cutting board to cool leaving plenty of space between the jars. Do not press down on the lids or tighten the rims!
Once the jars are completely cooled, check for the seal by running your finger over the top of the lids. If you feel a slight bump in the center, or it feels springy, the jar did not seal correctly. Should this happen, refrigerate that jar and use first.
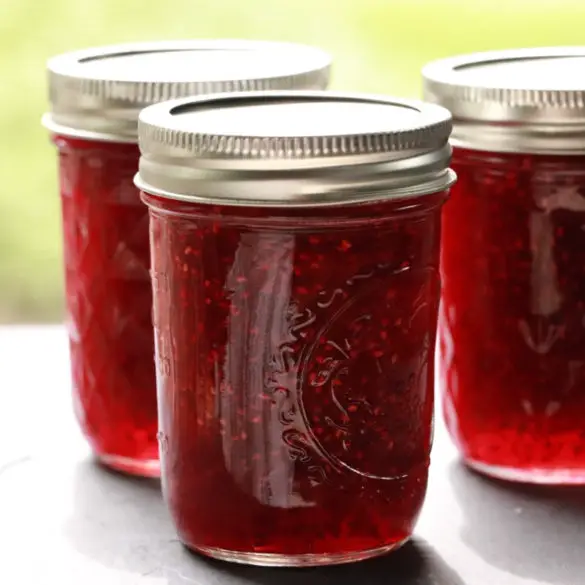
Ingredients
- 2 Qts Red Raspberries
- 1 Pkg Powdered Pectin (follow liquid pectin instructions if using)
- 1/3 C Water
- 1 Tbl Grated Lemon Peel
- 1 Tbl Lemon Juice
- 6 C Sugar
Instructions
- Combine clean raspberries, pectin, water, lemon peel, & lemon juice into large jam pot
- Bring mixture to boil over high heat, stirring constantly
- Add sugar & stir until completely dissolved
- Return mixture to a rolling boil & boil hard for 1 minute
- Ladle jam into hot jars, leaving 1/4 inch headspace
- Cap according to safe canning procedures
- Return filled jars to hot water-bath canner & process for 10 minutes in boiling water (start timer when water returns to a boil)
HOW TO STORE CANNED RED RASPBERRY JAM
Label your product with product name and date, & your jars are ready for long-term storage.
PRO TIP: Although labels are beautiful (and used for gift giving) the residue left can often be difficult to remove from the jars when reusing them next time. Instead, use a permanent marker or sharpie and write on the lid the information needed to identify the product.
Store your seeled jars in a cool, dark space. It is not necessary to store with the rims or bands intact. In fact, we remove the rims or bands from our cooled jars and reuse in the next canning process.
JAM MAKING TIPS
Over the years we have found a few additional tips to assist you in making your own jam.
- Use only the freshest (we harvest in the morning & can/process the same day) fruit you can manage. Discard any blemished or damaged fruit
- Jam can be made from frozen fruit. Store in pre-measured increments, label, & freeze.
- Always check the expiration date of the pectin you will be using
- Follow the recipe directions in their entirety checking any special notations from the pectin of your choice
- Make a single batch of jam at a time. Doubling the recipe often does not work (yes, we speak from experience)
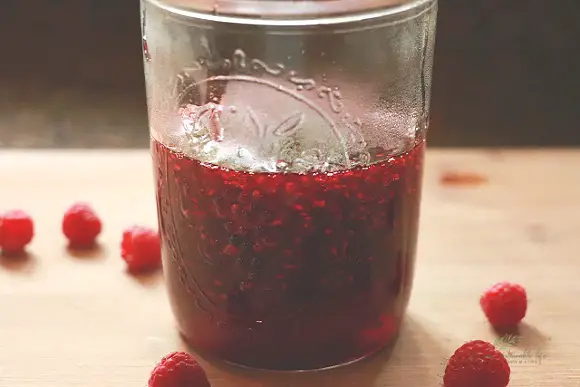
Making our own, from scratch, red raspberry jam is how we enjoy the tastes of summer year round. This process is fast, easy, and rewarding. Do you make your own jams? Have any tips or suggestions missed here? Be sure to join our conversation below, and as always, thank you for stopping by!
Love, Light, & Laughter ~

This article was featured at the Unlimited Monthly Link Party!

46 comments
This brings back memories! My grandmother made a wonderful raspberry jam. I miss it.
Isn’t it wonderful when food brings with it not only delicious flavors but also warm memories? Thank you for sharing Cindy!
CONGRATS! Your post is FEATURED at my #UnlimitedMonthlyLinkParty 15, open until August 26.
Thank you for the feature, Dee!
Red Raspberry is one of our favorites too! Thank you for sharing this with us on the Homestead Blog Hop, your instruction detail is great!
So many great tips for an amateur such as myself!
I love making jam but I haven’t done it in years. Raspberry is one of my favorites.
Sounds delicious! And, thanks for the info on the low sugar recipes. I always get nervous making low sugar versions because of the potential for early spoilage.
Sounds delicious! I once bought raspberry jam instead of strawberry by accident, and wound up loving it.
I love canning and it feels so rewarding especially in the winter time!
This looks yummy. This looks like it would be a fun vacation activity on a farm or something.
Your jam does look beautiful. I need friends to do this to give me special gifts. 😉
LOL! It is a wonderful gift to receive!
I’ve never had raspberry jam but it looks amazing.
I never seem to have enough raspberries left to make jam, you must have an enormous raspberry patch.
It is a challenge to not eat them before jamming! Our patch is about 12-15 feet long. Its enough to freeze a couple gallons, make jam, and eat fresh. Thanks for stopping by!
This looks so good! Raspberries are my favorite but they are pretty fickle for me when I’ve tried to grow them. But I could totally go to one of my local farms and buy a bunch and try this!
That looks great! I’ve never tried to make jam before!
My Mother is an expert jam, jelly, chutney, or (whatever else one can can) canner! I love the fruits of her labor of love! Fresh from the garden to her canner! YUMMO!
It is filled with love & memories for sure! Thanks for reading.
I love canning different things and have made jams and preserves before. There is such satisfaction in making something yourself and then having later in the season. Oh so good.
Absolutely nothing better, right? Thanks for stopping in!
We buy red raspberry jam on the regular so I think I might attempt to make it. Jam is in the top 3 recipes I’ve always been scared to attempt but maybe I’ll bite the bullet.
Definitely give it a go! Not hard at all and so worth it. Follow the steps outlined and if you have any questions, reach out! Thanks for stopping by.
I love raspberries….not sure if I would be able to just eat a small bit of this jam without eating the entire jar. This looks delicious.
That is a challenge for sure!
My husband’s grandmother used to make jams – all kinds and red raspberry was one of them. She died a few years ago and I was lucky enough to spend time in the kitchen with her as were my grandchildren. We sure do miss those times. Just makes the jam even sweeter knowing you prepared it as a family.
Definitely is. What a great memory you have! Thank you for sharing it with IMSL!
This makes me want to go berry picking.
I love jam! this looks like a great recipe, I will have to try!
I love making raspberry jam. It is a special treat!
Yum.. this sounds like a great recipe ! We cant grow raspberries in AZ or should I say I cant! But once in awhile we get the trucks that have extra produce.. so I will be picking up some raspberries next time! Thank you!
I love raspberry jam! Just looking at the jar made my mouth water!
My mom used to make raspberry jam…and I remember standing next to her, sampling it….it was delicious. I need to make some. The taste of homemade jam is the best. Thanks.
Thank you for sharing your beautiful memory with us!
What a thorough post! I loved that you addressed sugar. That is my number one question, and you explained it so well. I am just growing my first strawberries this year. I’d love to add raspberries and make homemade raspberry jam. So impressed with your blog, as always!
Thank you, Ramae! Enjoy!!
Raspberry jam is my absolute favorite! I wish I had more raspberry bushes so I could make some.
Yum! Freshly made foods are always so much better, with the added benefit of knowing EXACTLY what went into them!
I didn’t know about the lower sugar/higher mold connection. Interesting! We love raspberries.
So interesting! I’ll have to try this out sometime. My hubby and dad love raspberry anything. Your jam looks beautiful by the way 🙂
Thank you, Alyssa! Hope you can give it a try.
I’ve never made any type of jam before. Super informative though, definitely makes me think I could attempt it after reading this!
Yes, you “can” 🙂 Thanks so much for reading!
Your jam looks delicious, Suzan! Great job!
I didn’t have enough berries all at once to make canned jam so I made small batches of frozen jam. But I really do prefer having a shelf stable product!
I haven’t found organic pectin, but I often use a no sugar needed type that gels well and tastes good too. 🙂
Hi Lisa
I saw your delicious freezer jam. I prefer not to use reduced sugar as it’s shelf life is greatly reduced and we don’t eat it quick enough. Thanks so much for stopping by & taking the time to read! Have a beautiful day!!